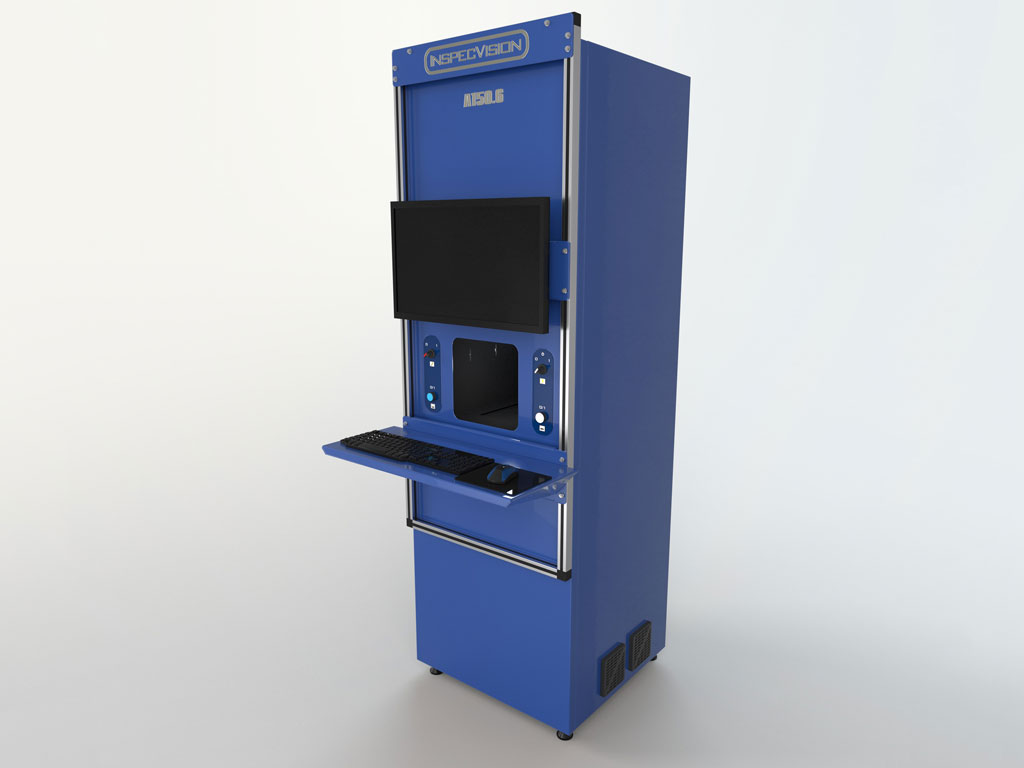
Overview / Specifications
| Description | Specification/Scope of Supply |
|---|---|
| Max Single scan area | 119mm (X) x 90mm (Y) |
| Max Single scan depth | 60mm (Z) |
| Camera | > 18 megapixels |
| Lens | Telecentric |
| 2D Single Point Repeatability 1 | 1.5 microns |
| 2D Accuracy 2 | 6 microns |
| 3D Single Point Repeatability 3 | 1.8 microns |
| 3D Accuracy 4 | 10 microns |
| 2D Scanning time | 0.1 seconds |
| 3D Scanning time 5 | 10 seconds |
| Peripheral equipment | Table lighting controller, Standard Computer Interface |
| Required Operating System | Windows 7 64bit |
| Software included | 3D scanning, automated repositioning, texture map acquisition, 3D color rendering, creation of cross- sections, creation of 3D edges, reverse engineering of 3D edges to DXF/DWG, comparison of 3D edges to DXF/DWG, reverse projection of colored deviation reports onto part, creation of 3D point clouds in PLY, STL, VRML, ASCII formats, creation of texture mapped point clouds, calibration software, 2D inspection software using silhouette and light from above, SPC output, automatic alignment, dimension importing, tolerance importing, tolerance tables, 3D repositioning, 2D repositioning, 2D reverse engineering. |
| Free 3D Inspection Software | Fully compatible with off the shelf free 3D inspection software. Functionality includes comparison to 3D solid models, dimensioning, GD&T, cross-sections, full surface deviation inspection, merging of scans, customizable reports, automatic alignment of scan to CAD, point cloud meshing, processing and filtering, extraction of nominal data from CAD model, comparison of 2 scans. |
| Advanced 3D inspection software option (Geomagic Control X) | Available on request. Comparison to 3D solid models, GD&T, SPC, cross-sections, full surface and edge inspection, creation of report templates, automated merging of point clouds, automatic alignment of scan to CAD, automatic point cloud processing and filtering, automatic detection of repositioning spheres, macro creation for full automation, automatic extraction of nominal data from CAD model, comparison of 2 scans. |
| 3D reverse engineering (advanced package) | Available on request. Creation of 3D solid models from scan data |
| Calibration Kit | Included as standard, retro-reflective reference markers mounted onto steel plate with repositioning frame |
| 3D Accuracy Verification Object | Included as standard, calibrated hardened steel ball bar |
| Accuity construction | Frame with removable sheet metal cladding |
| Projection source | Full HD 1080p 1920x1080 native resolution LED projector |
| Data cables | HDMI and USB3 |
| Power supply | 110-240V 50/60/Hz |
| Power consumption | 2 Amp maximum at 230 Volt, 4 Amp max at 110 Volt |
| EC directives | Compliant with Machinery, Low voltage and EMC Directives |
| Paint colour | Frame and Outer canopy: RAL5013 Blue |
| Ambient operating conditions | 5-35 degree C |
| Approx Footprint width/ depth/ height/ weight | 710mm (W) x 963mm (D) x 2005mm (H) 225kgs |
| Standard packing | Export crate suitable for sea shipping |
| Warranty | One year limited warranty on hardware and software |
| Optional extended warranty | Two or three year extended warranty (requires software upgrade option) |
| Software support option | Annual support contract provides free software upgrades |
| DOWNLOAD THE SPECSHEET | |
1 Tested using multiple scans of ISO10360-4 reference object in single position
2 Tested on ISO1036-4 reference object by applying ISO10360-4 to 2D scanning system across > 80% of scanning area 3 Tested using distance between ball bar spheres in single position
4 Tested by measuring distance between ball bar spheres throughout the measuring volume
5 Typical scanning time, may vary according to object surface finish and size
Actual measuring accuracies achieved will depend on operating environment, user input, quality and condition of materials
Due to our policy of continuous improvement specifications are subject to change without notice, please contact factory or your InspecVision dealer

