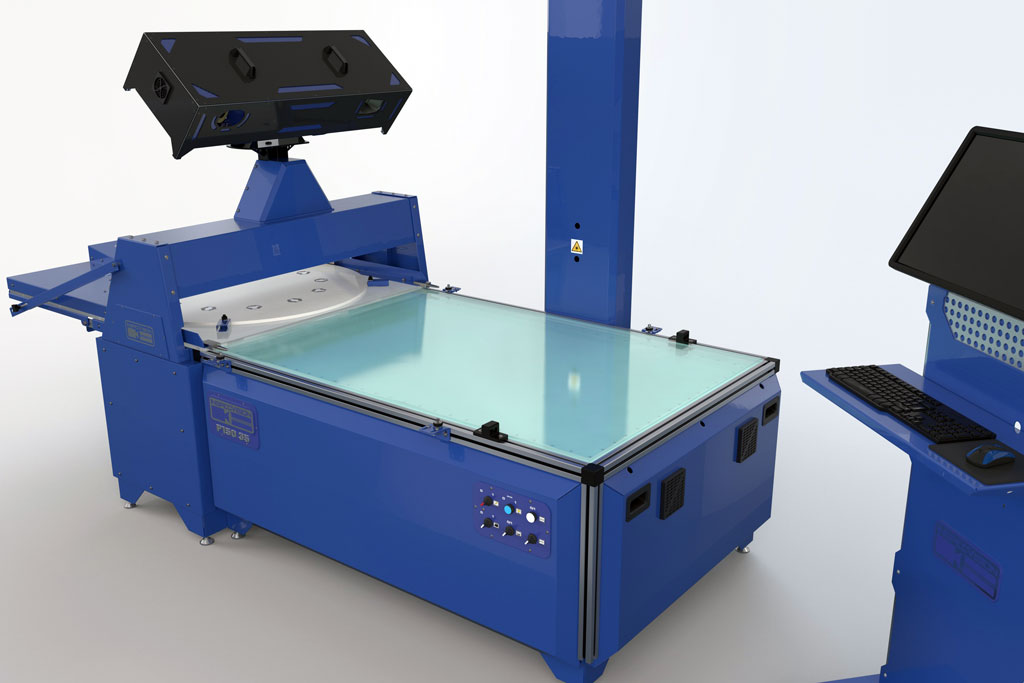
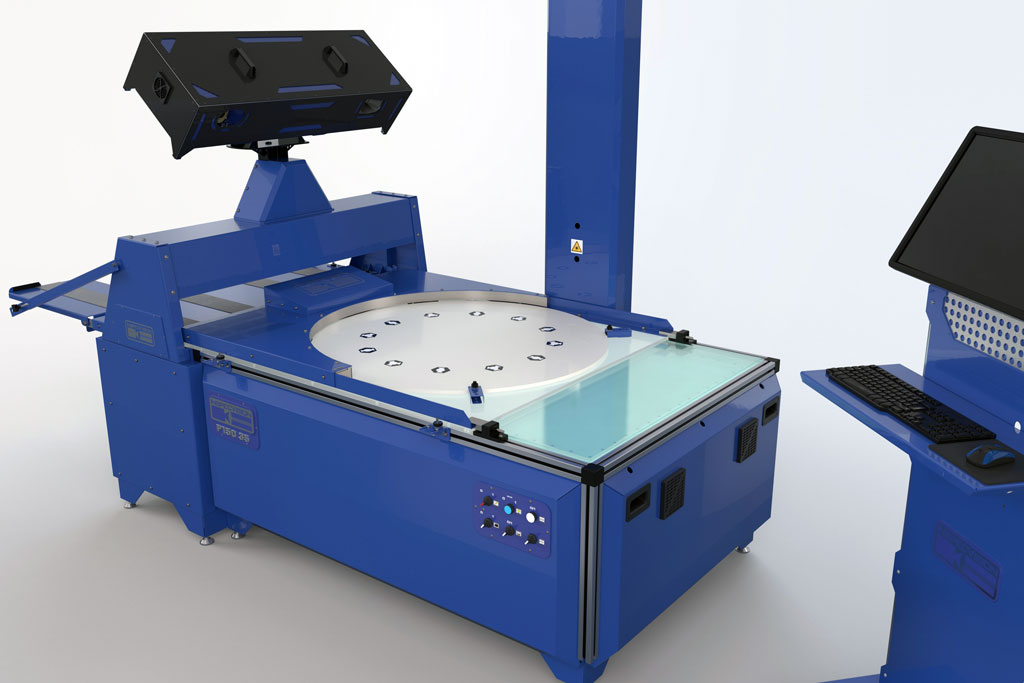
Planar 150.35 with Opti-Scan 1000.35LA
Product Features
Inspect Parts Quickly and Automatically
Ultra Fast Reverse Engineering
SPC Integration
Largest Range of Models Available
3D Scanning
P 150.35 Specs
| Description | Specification/Scope of Supply |
|---|---|
| Max component length | 1500mm |
| Max component width | 1000mm |
| Max component thickness | 350mm |
| Max component weight | 250kg – UDL (Uniformly Distributed Load) |
| Measuring accuracy, length & width** | +/- 35/70 μm* |
| Measuring accuracy, height** (optional) | +/- 100 μm* |
| Measuring speed** | <0.25sec |
| Camera | Industrialised ultra high resolution professionally mounted in sealed enclosure |
| Dot Laser height measuring device (Optional) | Class III R precision laser |
| Computer processor | Intel Quad or Dual Core |
| Processor speed | >3GHz |
| Hard disk | <125Gb |
| Screen | 20 inch flat screen or better |
| Peripheral equipment | Keyboard and optical mouse |
| Operating software | Windows 10 - 64 Bit |
| Proprietary InspecVision software | Inspection, SPC, Reporting, Reverse engineering |
| Data cable | USB 2 or USB3 |
| KVM | Keyboard, Video Display & Mouse stand (PC integrated into light table assembly) |
| Light table construction | Frame with removable sheet metal cladding |
| Light table measuring surface | Laminate glass, toughened with integral diffusion layer |
| Light source | High efficiency LEDs |
| Mast construction | Heavy folded sheet metal construction |
| Power supply | 230 Volt, single phase, 50Hz or 110 Volt, single phase, 60Hz on request |
| Power consumption | 4 Amp maximum at 230 Volt, 8 Amp max at 110 Volt |
| Protective devices | Circuit breakers, mounted at rear of light table |
| Control panel | Control switches for power, camera and lights. Main power indicator |
| EC directives | Compliant with Machinery, Low voltage and EMC Directives |
| Paint Colour (powder paint) | RAL 5013 (cobalt blue) |
| Ambient operating conditions | 10-30 degree C |
| Approx Footprint/installed width/ depth/ height/ weight of installed Light table and Mast | 1870mm (W) x 1438mm (D) x 3675mm (H) <825kgs |
| Approx Footprint/installed width/ depth/ height/weight of installed Computer Cabinet (inc keyboard tray) Optional | 710mm (W) x 472mm (D) x 1739 (H) <45kgs |
| Standard packing | Export crates suitable for sea shipping (2 nos) |
| Warranty | One year limited warranty on hardware and software |
| Optional extended warranty | Two or three year extended warranty (requires software upgrade option) |
| Software support option | Annual support contract provides free software upgrades |
| DOWNLOAD THE SPECSHEET | |
*The first accuracy value specifies the accuracy achieved over most of the table,
the second accuracy value specifies the accuracy achieved at table edges
**Accuracy results are verified on standard production machines using tests based on ISO 10360
Actual measuring accuracies achieved will depend on operating environment, user input, quality and condition of materials
Errors and omissions excepted
Due to our policy of continuous improvement specifications are subject to change without notice, please contact factory or your InspecVision dealer.
OS 1000.35 Specs
| Description | Specification/Scope of Supply |
|---|---|
| Max Single scan area | 1000mm (X) x 625mm (Y) |
| Max Single scan depth | 625mm (Z) |
| Volumetric accuracy** | 75 microns |
| Repeatability** | 35 microns |
| Point Spacing | Better than 210 microns |
| Scanning speed*** | > 250,000 points per second |
| Scanning time*** | < 10 seconds |
| Processing time**** | < 5 seconds |
| Peripheral equipment | USB lighting controller, Standard Computer Interface |
| Required Operating System | Windows 10 |
| Software included | 3D scanning, automated repositioning, texture map acquisition, 3D color rendering, creation of cross-sections, creation of 3D edges, reverse engineering of 3D edges to DXF/DWG, comparison of 3D edges to DXF/DWG, reverse projection of colored deviation reports onto part, creation of 3D point clouds in PLY, STL, VRML, ASCII formats, creation of texture mapped point clouds, calibration software. |
| Free 3D Inspection Software | Fully compatible with off the shelf free 3D inspection software. Functionality includes comparison to 3D solid models, dimensioning, GD&T, cross-sections, full surface deviation inspection, merging of scans, customizable reports, automatic alignment of scan to CAD, point cloud meshing, processing and filtering, extraction of nominal data from CAD model, comparison of 2 scans. |
| Advanced 3D inspection software option (Geomagic Control) | Available on request. Comparison to 3D solid models, GD&T, SPC, cross-sections, full surface and edge inspection, creation of report templates, automated merging of point clouds, automatic alignment of scan to CAD, automatic point cloud processing and filtering, automatic detection or repositioning spheres, macro creation for full automation, automatic extraction of nominal data from CAD model, comparison of 2 scans. |
| 3D reverse engineering (advanced package) | Available on request. Creation of 3D solid models from scan data. |
| Calibration Kit | Included as standard, retro-reflective reference markers mounted onto steel plate with repositioning frame |
| Accuracy Verification Object | Included as standard, calibrated ball bar |
| OptiScan construction | Camera and projector assemblies mounted on floating carbon fibre chassis |
| OptiScan enclosure | ABS Carbon fibre effect |
| Repositioning markers | Set of 24 loose magnetic photogrammetric markers to allow repositioning |
| Camera | > 18 megapixels |
| Projection source | LED/laser projector |
| Data cables | HDMI and USB3 |
| Power supply | 110-240V 50/60Hz |
| Power consumption | 1.5 Amp maximum at 230 Volt, 3 Amp max at 110 Volt |
| EC directives | Compliant with Machinery, Low voltage and EMC Directives |
| Paint color (powder paint) | Light table RAL 5013 (colbalt blue) |
| Ambient operating conditions | 5-35 degree C |
| Approx Footprint width/ depth/ height/ weight | 1214mm (W) x 852mm (D) x 1490mm (H) < 25kgs (Tripod) |
| Approx Footprint width/ depth/ height/ weight | 2454mm (W) x 1169mm (D) x 1696mm (H) < 750kgs (LM & LA) |
| Standard packing | Export crate suitable for sea shipping |
| Warranty | One year limited warranty on hardware and software |
| Optional extended warranty | Two or three year extended warranty (requires software upgrade option) |
| Software support option | Annual support contract provides free software upgrades |
| DOWNLOAD THE SPECSHEET | |
* Actual scanning range will be significantly larger, however measurements outside of this range may have additional noise.
** Accuracy achieved by measuring a reference object at various locations within the measuring volume, contact InspecVision for further details.
*** Time taken to measure a typical component. Results may vary depending on part measured or speed of computer
**** Time taken to process the measurements of a typical component. Results may vary depending on part measured or speed of computer.
Actual measuring accuracies achieved will depend on operating environment, user input, quality and condition of materials
Due to our policy of continuous improvement specifications are subject to change without notice, please contact factory or your InspecVision dealer


