Opti-Scan 3D uses a high speed, high resolution industrial camera and an LED DLP projector to scan the surfaces of an object.
Patterns of light are beamed from the projector onto the part, these patterns are recorded by the camera and used to create surface measurements.
3D Edges
A back-light table can be used to capture the silhouette of the part. This silhouette image is then converted into 3D edge measurements using our patented Planar Edge 3DTM technology.
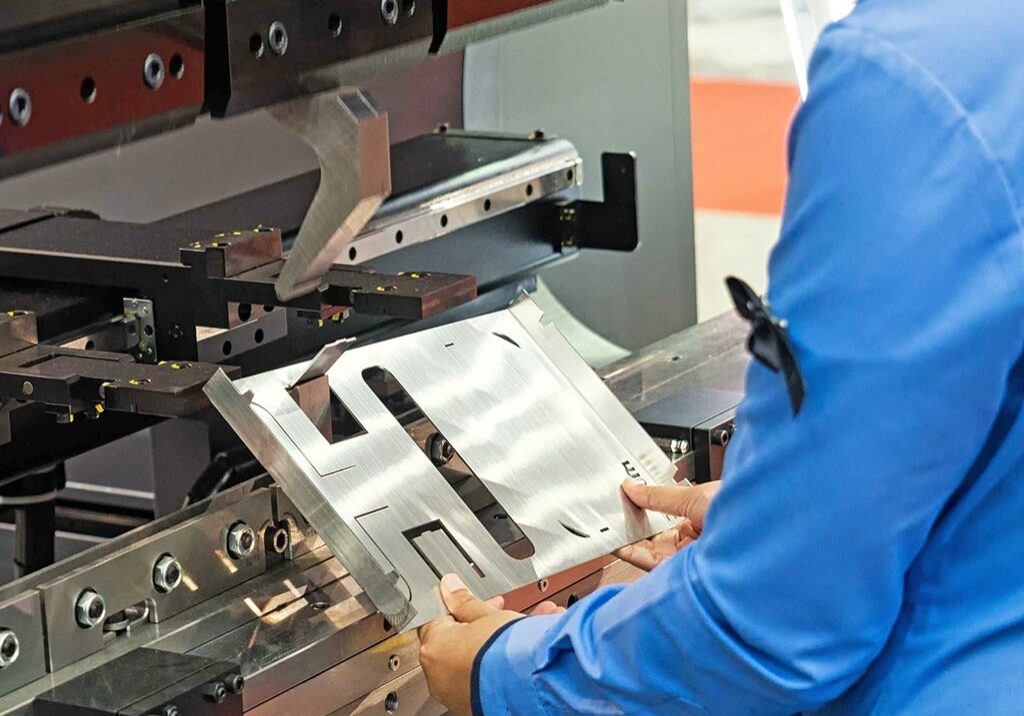
3D edges are essential when measuring sheet metal parts as the critical features such as hole size and position are defined by the part’s edges, not it’s surfaces. Competing 3D scanners can acquire measurements of surfaces but are notoriously bad at acquiring measurements of edges.
The Opti-Scan is the only system in the world which can accurately measure surfaces and edges in 3D.
Single Click Inspection
InspecVision achieve high levels of automation by adding a rotational table and tilting mechanism. This arrangement has been carefully chosen to create a viewing hemisphere which allows scans to be acquired from all visible surfaces of the component.
The rotational table has a ring of reference markers which locate the table relative to the scanner. This removes the need for high precision, expensive, delicate, moving parts which would need to be recalibrated and maintained.
The result is an unprecedented level of accuracy and automation. The system can inspect most 3D parts by simply placing the part on the table and scanning a bar code, or clicking a button.
Mobile Large Volume Scanning
The Opti-Scan can also be used as a portable 3D scanner by placing the scanning head on a tripod.
Large objects can be measured by attaching repositioning markers to the surface of the part or to a measuring bench or area. These markers are then used to automatically stitch the scans together. In this configuration almost any size of object can be measured.
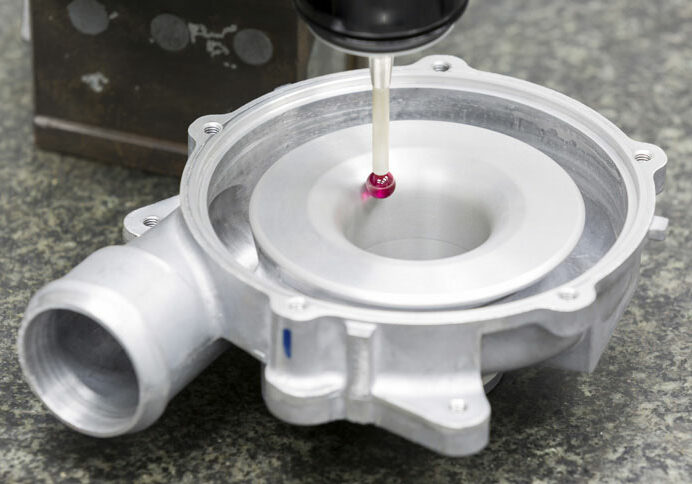
The system is also available as a retrofit to our Planar 2D machines. Furthermore our Opti-Probe device can be used by the Opti-Scan to probe hidden features.
All of our Opti-Scan systems use at least 18MP cameras, this resolution is several times larger than the nearest competing product, which typically use 5MP or even 1MP cameras. All Opti-Scan 3D units capture object texture and geometry, color cameras are available on request.
Key Features
White Light Scanning Technology
Opti-Scan 3D uses market leading white light scanning technology to scan formed parts. A White Light Scanner (WLS) is a device for measuring the physical geometrical characteristics of an object. Alternating patterns of white light are projected onto the object to be measured and a camera captures the images. Our innovative software can then analyse the data to output a point cloud of the surfaces and edges of the object. Any area of the part that can be seen by the camera can be measured. Each scan can contain up to 40 million edge measurements and 20 million surface measurements. The measuring speed is approximately 250,000 measurements per second!
Retrofit & use with Planar 2D
Build a complete 2D & 3D inspection system by retrofitting the Opti-Scan 3D to the Planar 2D.
3D Surface & Edge Measurements
Opti-Scan is the world’s only system that can measure edges in 3D Traditionally other 3D scanners tend to determine the size of holes and the position of edges not from measurement data but from the lack of measurement data. This is inefficient and inaccurate. The Opti-Scan 3D solves this problem because it can be used with our 2D measuring system. Planar and Opti-Scan 3D together can measure the edges accurately in 3D so that accurate hole sizes can be obtained and the true position of edges can be determined. Our Opti-Scan 3D measures edges in 3D with actual measurement data, not with the absence of data like other systems. Edge measurements tend to be the most important for measuring fold lengths and holes etc... We are the only manufacturer who can provide a 3D scanning system that can truly measure these features.
Texture Mapping
Opti-Scan 3D not only scans the surface of objects but can also create a fully texture mapped point cloud in full colour.
Inspect Almost Any Feature
Scan the part and inspect almost any feature using Opti-Scan 3D!
Single Click Automated Inspection
Inspect your parts with a single click set up on Opti-Scan 3D.


