2 ½D Sheet Metal Production
While 2D sheet metal production has become more reliable, 3D or 2½D sheet metal production is still susceptible to errors such as bending spring-back, press-brake programming errors, missing forms, louvres and inserts.
The demand for these 2½D parts is increasing and it is now common to see punching machines create parts with louvres, forms, inserts and even small folds. Even when the part is nominally flat it is quite common for the features punched in the part to deform the metal creating a relatively unflat component.
The InspecVision Opti-Scan 3D is a highly capable 3D scanner, however adoption of a full 3D scanning system on the shop floor can be daunting.
A low cost and easy to use alternative is needed.
The system should:
Be aimed at shop floor operators.
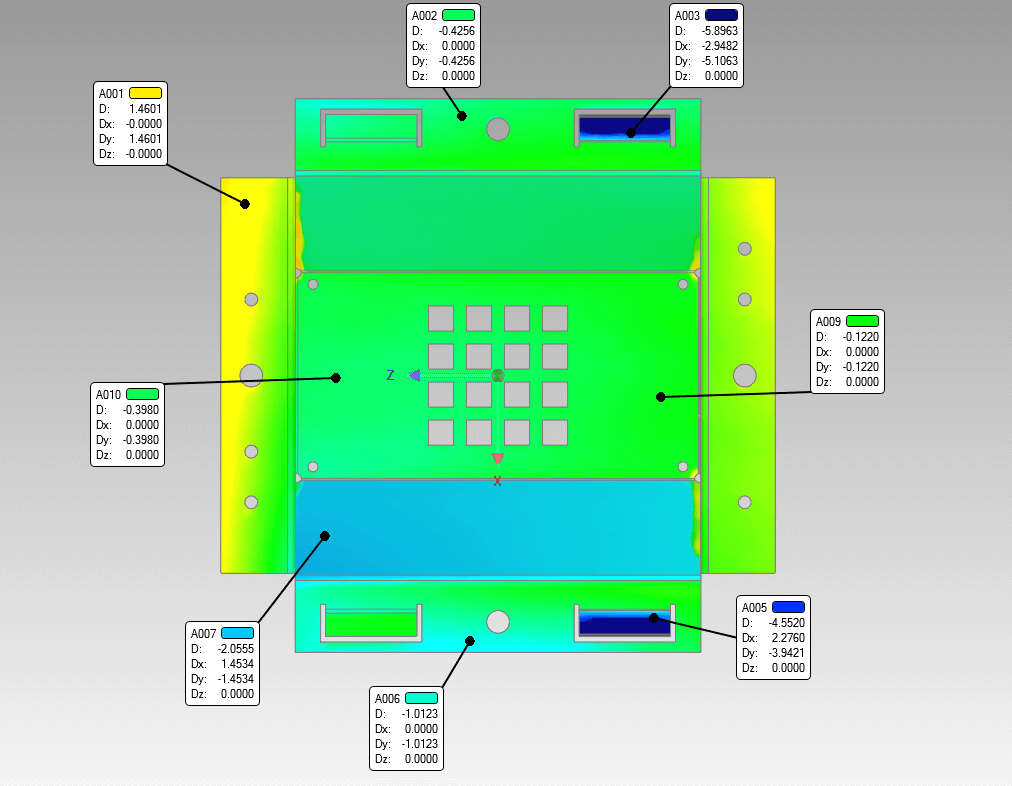
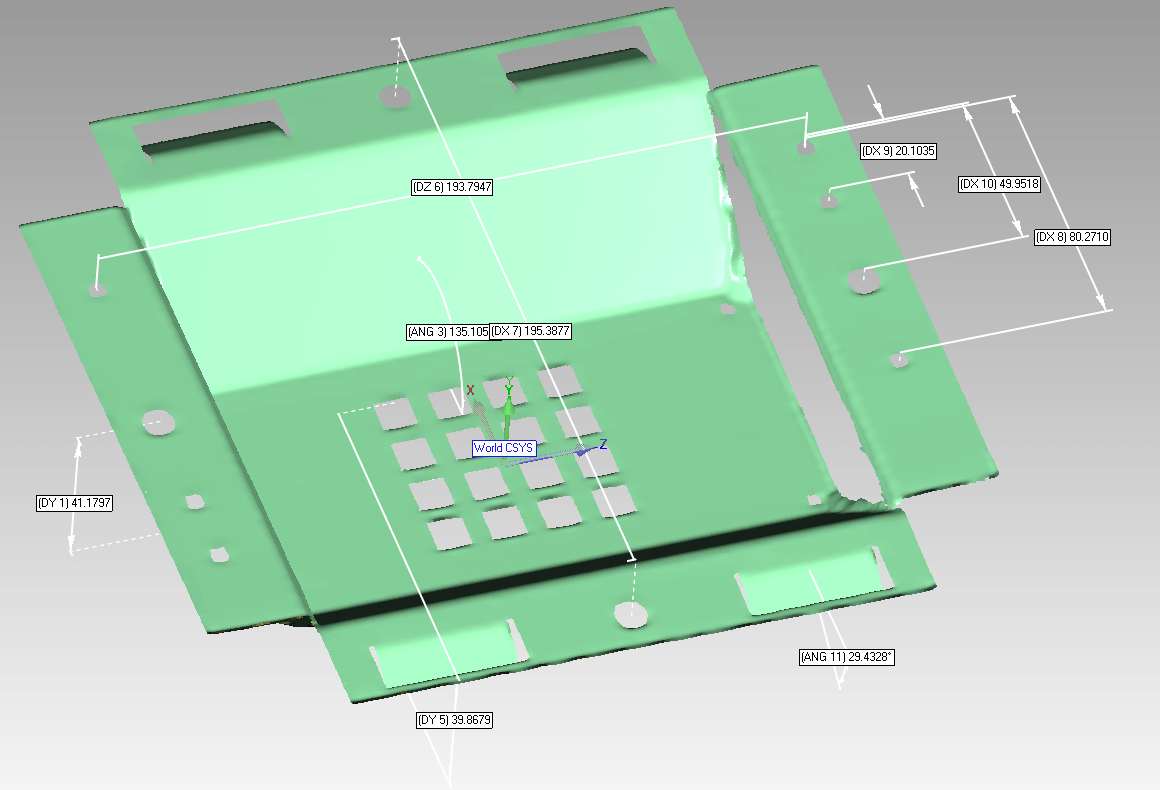
Perform basic 3D inspection tasks such as checking form and insert heights and fold heights, lengths and angles with ease and against the 2D CAD files available on the shop floor.
Be capable of full 3D scanning and comparison to 3D CAD models if required
InspecVision SurfScan2D
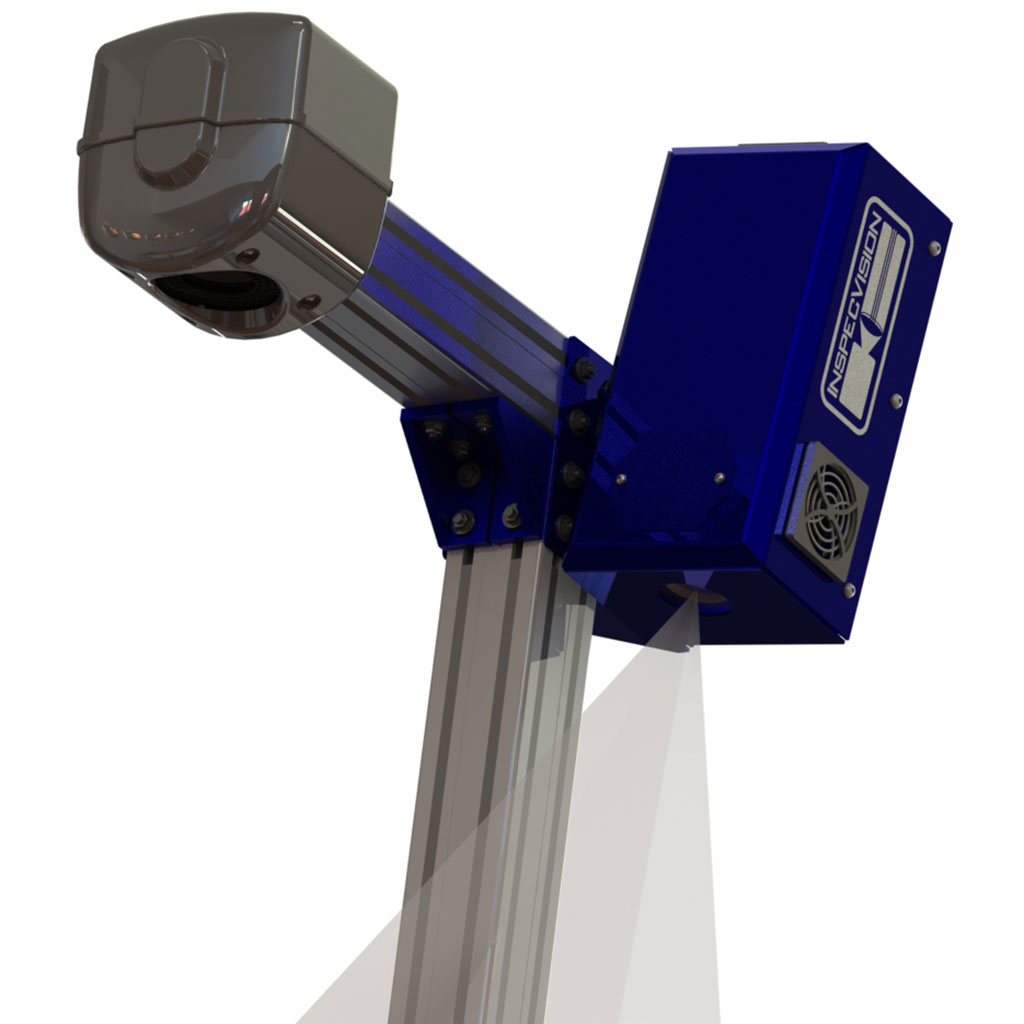
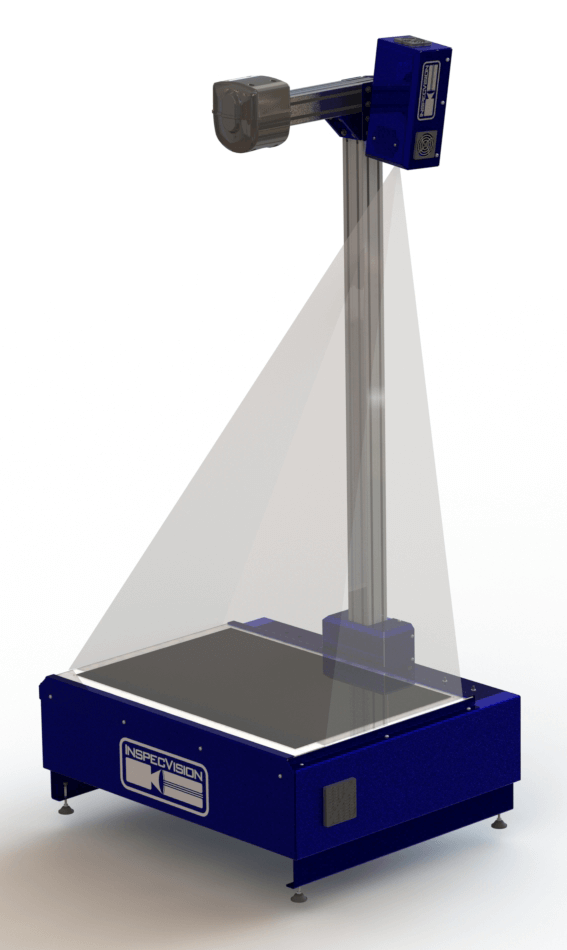
The SurfScan is a high resolution projector which mounts onto the existing Planar vertical column.
The projector shines structured lights onto the part which are then imaged by the Planar’s camera to create a 3D scan of the upper surface of the part. However rather than focusing on purely 3D inspection the SurfScan is primarily designed to augment the existing 2D scanner and provide a powerful yet easy to use 3D or 2 ½D inspection capability.
Check
Shop Floor Friendly 2½D Inspection
Many punching machines do not produce completely 2D parts.
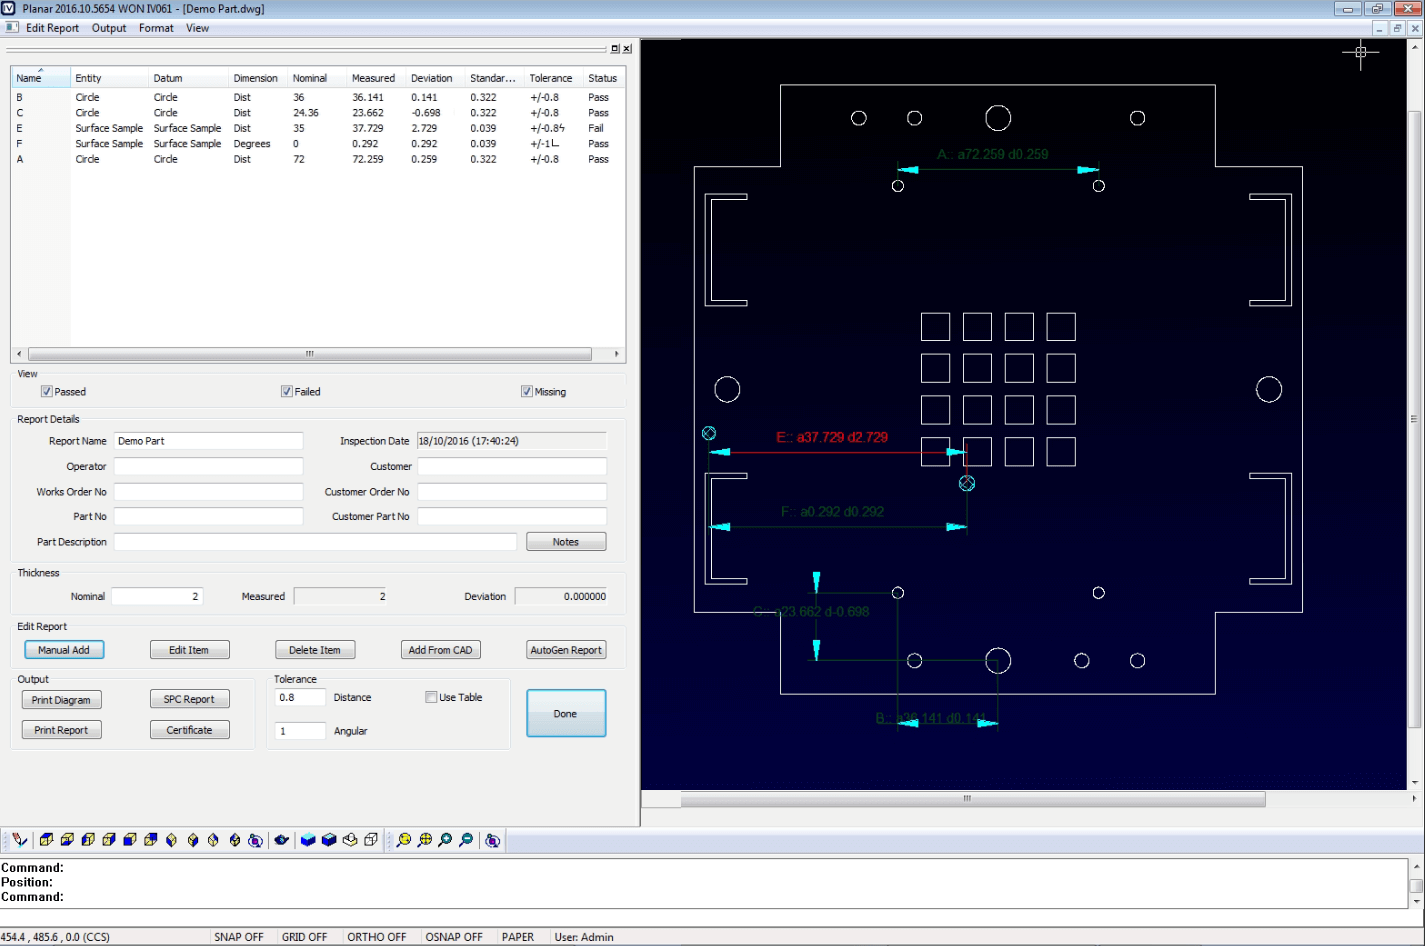
The parts have forms, louvres, small bends, pins etc. The SurfScan integrates seamlessly with the Planar 2D automatic inspection software to allow accurate inspection of both the parts 2D shape and its 2 ½D features with a single click.

