Case Study

Company Profile
Company: ArcelorMittal
Size: €59 Billion
Location: Belgium, France, Spain, China
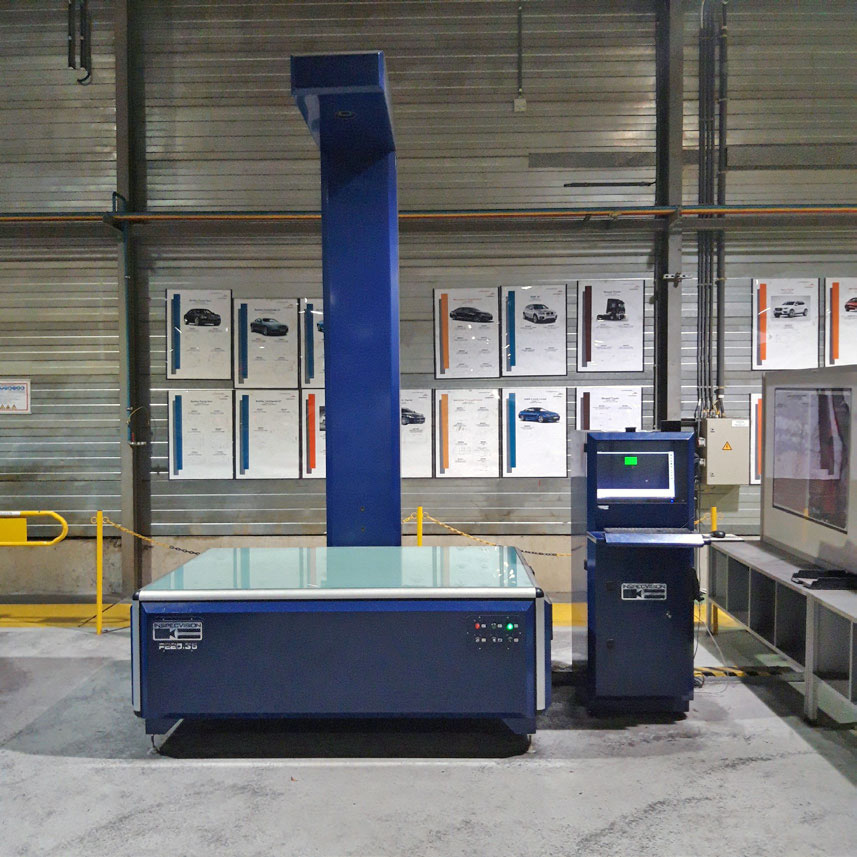
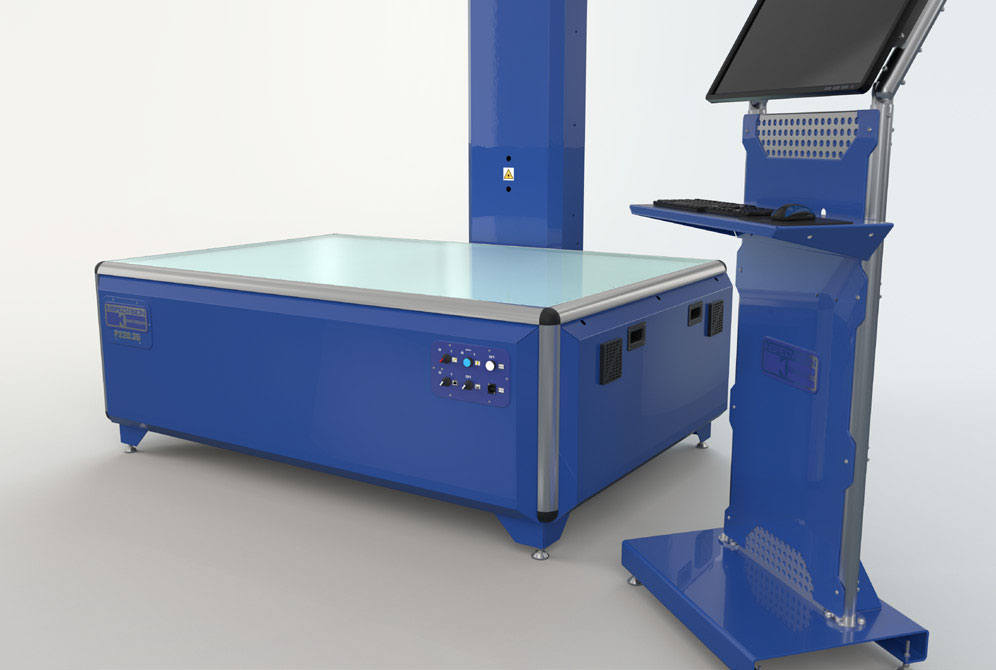
Machine: Planar P220.35 x 5, P220.50 x 4
ArcelorMittal is the world’s leading steel and mining company, with a presence in 60 countries and an industrial footprint in 18 countries. They are the leading supplier of quality steel in the major global steel markets including automotive, construction, household appliances and packaging.
About one fifth of global car production is made from ArcelorMittal steel. The company develops automotive steel products to optimise the weight and cost of vehicles, reduce carbon emissions and ensure high standards of safety. Customers include Mercedes, BMW, Volkswagen, Toyota, PSA Groupe ( incl. Peugeot, Vauxhall, Opel), Renault-Nissan-Mitsubishi Group, Honda and Volvo.
Mr. Van Oudenhove, Senior Projects Manager at ArcelorMittal Tailored Blanks headquarters in Merelbeke, Belgium, explained that parts in all the plants were being checked with calipers. As new tighter requirements were introduced it became too time consuming to continue using calipers for quality control. Satisfying customer demand meant a new computerised measuring system was a necessity.
According to ArcelorMittal’s Quality Control Technician at the Zaragoza plant “2D full inspection needed expensive CMM equipment, took a long time and wasn’t suitable for the shop floor”. A project was launched to research the solutions available on the market. They saw the Inspecvision Planar machine at Euroblech, the international sheet metal working technology exhibition which takes place in Hanover, Germany.
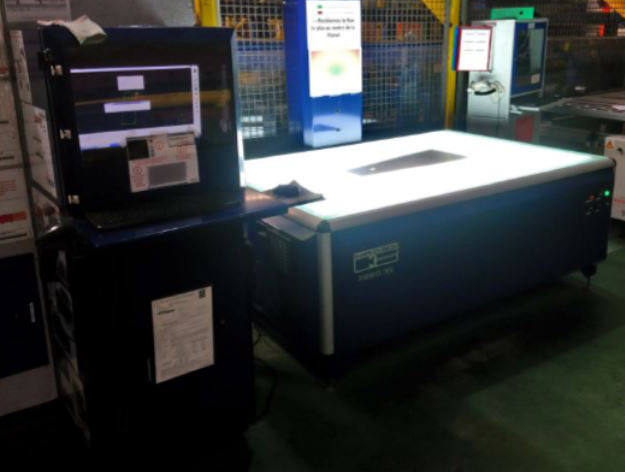
ArcelorMittal worked closely with InspecVision’s Belgian distributor, Steen Metrology Systems, and installed their first Planar P220.35 machine in 2015 at the plant in Genk, Belgium. The Quality Control Manager at Genk commented “The machine is a helpful tool that measures blank contours in a fast and easy way without programming. The machine is user-friendly, operators can easily check their own production.
“The machine is a helpful tool that measures blank contours in a fast and easy way without programming. The machine is user-friendly, operators can easily check their own production”
— Quality Control Manager, ArcelorMittal Tailored Blanks - Genk, Belgium
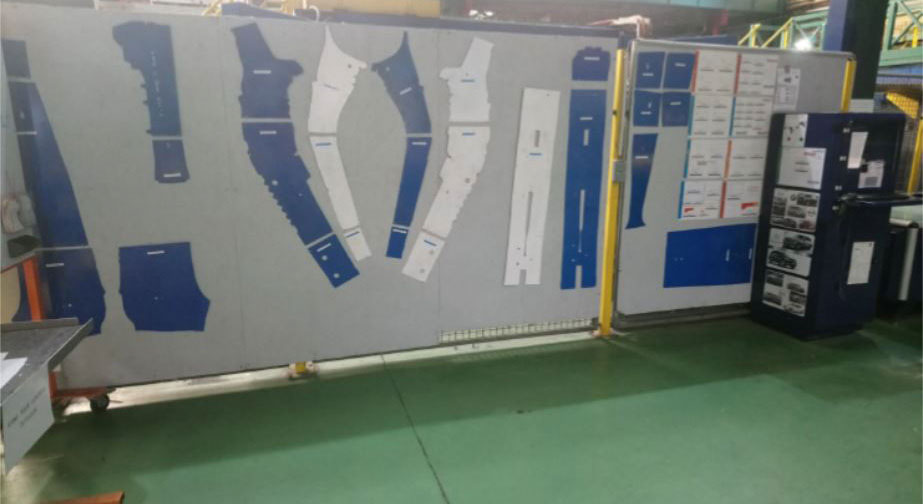
Furthermore between 150-300 parts a week are inspected at each AMTB plant. Since installing the Planar machine, inspection time has reduced by “5-10 minutes per part and for complex parts an hour is saved”. Previously they were spending between 13 and 50 hours a week inspecting parts, therefore it wasn’t difficult to justify installing a Planar machine as it provided a “completely different capability of measurement”. AMTB were able to inspect “at least three times more” parts on the Planar machine than was possible with their manual methods.
The Planar machine at Genk had such a positive impact for the business that a further two machines were purchased in 2015 for the plants at Lorraine in France and Gent in Belgium.
The Quality Control Manager at Lorraine commented “with this machine we can check if the overall geometry of a welded blank is within the tolerances that our customers specify”.
In fact, in 2016 ArcelorMittal had no trouble justifying two more machines for their facilities in Liege, Belgium and Zaragoza in Spain, followed by a further four machines for an ArcelorMittal Gonvamma joint venture in Loudi, Chongquing, Shenyang and Changshu in China.
Within ArcelorMittal the Planar machines are used by shop floor blanking and welding line operators, product auditors and quality technicians. Mr. Van Oudenhove commented that the Planar machine has performed “well with no problems” in a factory floor environment and that “customers are very satisfied when it was shown during audits or visits”. In addition, they have recommended the Planar to neighbouring companies and other companies within the ArcelorMittal Group.
To find out more information about the Planar and how it can help your business; please download our online brochure and contact our sales team at sales@inspecvision.com.
“With this machine we can check if the overall geometry of a welded blank is within the tolerances that our customers specify.”
— Quality Control Manager, ArcelorMittal Tailored Blanks - Lorraine, France

