Application Example
A Gasket and Seal Inspection solution for Engine & Pump Manufacturers
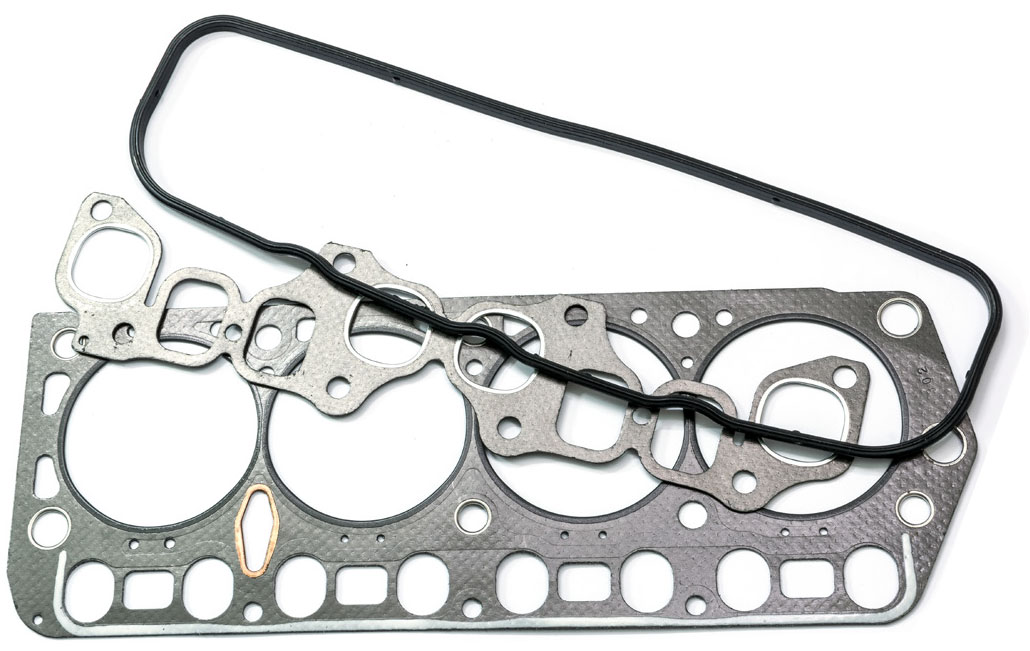
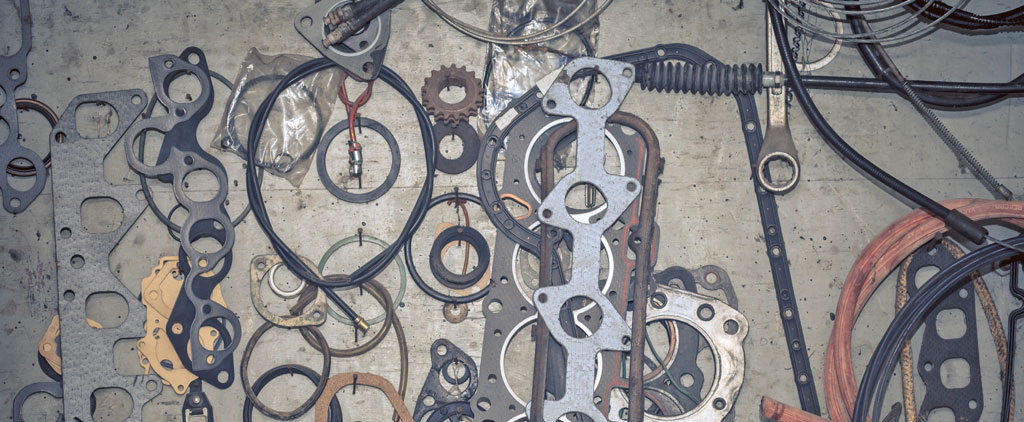
Gasket and seal inspection is a particularly dif cult and demanding application.
With the advent of spiral wound, double-jacketed and kamm profile gaskets, gasket inspection has become a lot more dif cult. The latest generation of gaskets are no longer manufactured from a simple 2D sheet, they are now a complex 2.5D or even 3D assembly made from a variety of flexible and solid materials.
Inspection Is No Longer Optional
The performance requirements of these items with respect to temperature and pressure is much greater than ever before and consequently the parts must be manufactured to very high tolerances. Added to this is the fact that gaskets and seals usually perform a system critical task.
CMM Inspection Is Not Adequate
Traditional inspection systems are not well suited to the gasket inspection process. Many gasket designs contain flexible components which make them unsuitable for contact measurement such as CMMs as the parts flex when touched or will not work well with jigging or fixturing.
Nick and burr detection requires the entire part pro le to be scanned which is impossible on CMMs and very slow using a traditional moving camera system. Gasket design ranges from simple sheet 2D gaskets to full 3D assemblies of several materials. Consequently some gaskets demand full 3D scanning rather than a simple 2D inspection, which again excludes CMMs and moving camera systems.
The gasket per unit cost demanded by customers can still be relatively low as production volumes are quite high, long and expensive setup periods which you might nd on a CMM or moving camera system are not economically viable. Even after the setup period the inspection process must be fast and automatic to keep inspection costs down.
These issues make the inspection of gaskets and seals a very challenging problem using traditional CMMs or moving camera systems.
A More Flexible Solution Is Needed
What is needed is a system which can inspect gaskets and seals with a single click. The system should be exible enough to scan in 2D or 3D depending on the design of the part. Setup periods should be a short as possible and for 2D parts ideally completely automatic. The inspection system should be shop oor friendly and capable of being used by a wide range of operators.
The system must also be available in a wide range of sizes and accuracies to ensure it can meet the needs of your facility.
The Planar2D Solution
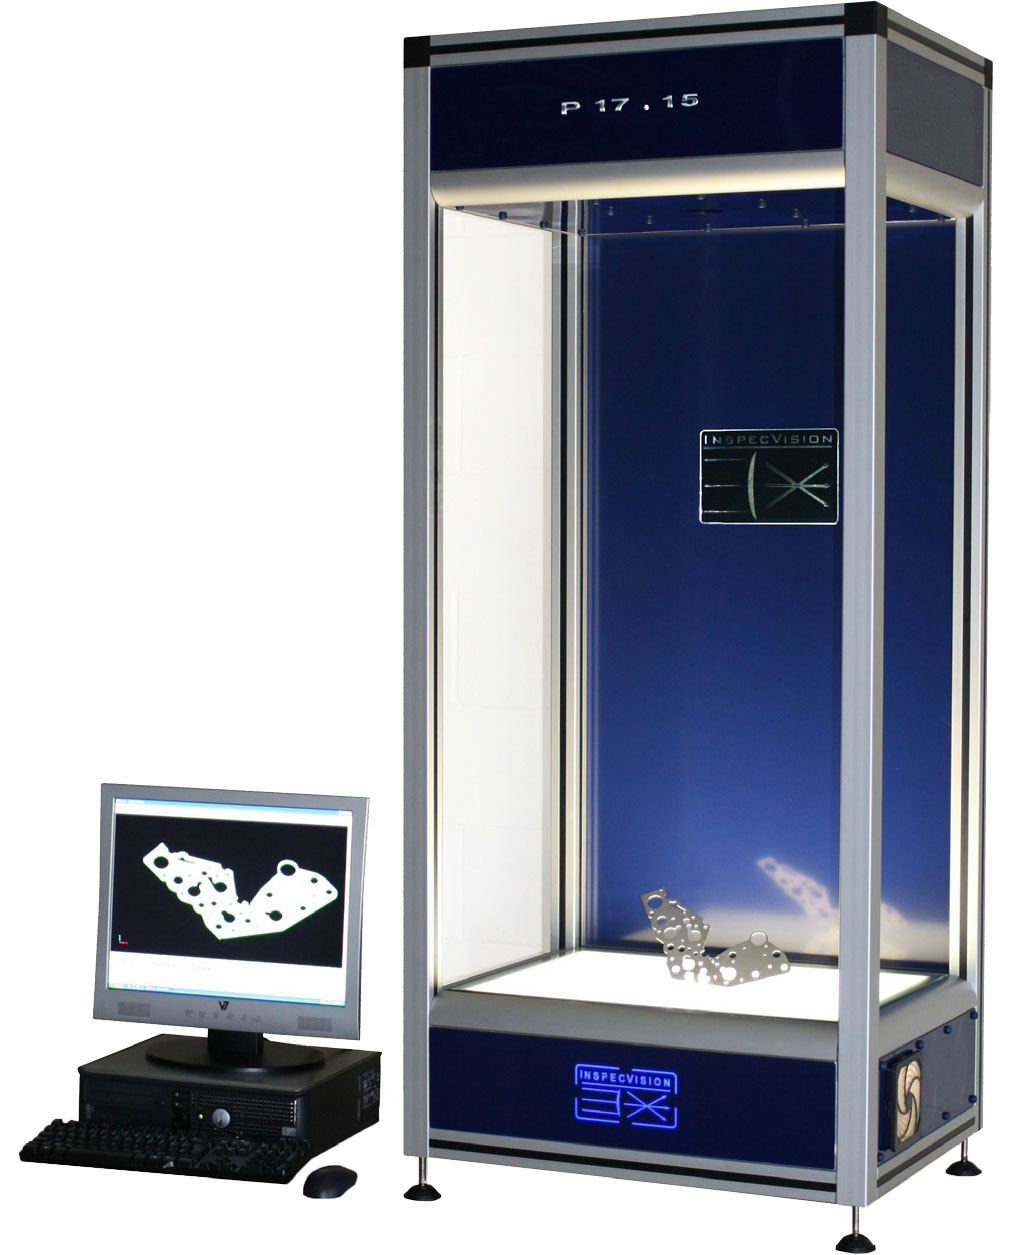
The Planar2D is an award winning inspectionsystem, and the fastest 2D Inspection System of its kind in the world.
The Planar system can be used for both measuring and reverse engineering parts. It uses a backlit table and a static high resolution digital camera mounted above the table.
Parts are placed onto the backlit table and the camera then captures an image of the parts silhouette. This image is then converted into up to 80 million measurements which can then be automatically compared to the CAD file.
The System Has Been Optimized For Gaskets and Seal Inspection
The system is non-contact and does not require any jigging or xtures. This makes it easy to measure the flexible materials contained within most gaskets and seals.
This system can compensate for parts with varying thicknesses, edge pro files and raised sections (gap to table) which are common when measuring the latest composite gasket assemblies.
If the part has some limited 3D features or is un at these features can be measured with the low cost SurfScan option. Alternatively for simple un at parts it is also possible to put a glass sheet over the part and the system will automatically calibrate and compensate for the refractive index of the glass.
Gaskets and seals which require full 3D scanning can be handled with the Opti-Scan option. This option uses a white light scanner to acquire millions of 3D points at 10 microns accuracy over the parts surface.
These 3D scans can then be compared to the 3D CAD le to inspect the part. The entire process can be automated to a single click.
A Highly Automated System
The Planar system is extremely automated. With a single click, or by scanning a barcode the system can complete multiple actions in a matter of seconds. Dimensions and tolerances from CAD files are automatically imported to create a report which is saved to the users preferred location. This removes the need for time consuming and difficult setup periods. Alignment of the part to the CAD file is automatic and can be defined using the part program or barcode file. Ambient temperature is measured and a compensation is automatically applied. In fact the inspection is so automated that the entire process only requires a single mouse click or scan of a barcode file. The scanning speed for the 2D system is 0.1 seconds and typically 3 or 4 minutes for the 3D system.
Factory Floor Friendly
As the system has no moving parts there are no wear items that need maintenance or recalibration. Furthermore the system can automatically detect when it has suffered trauma and will warn the user that recalibration is required.
The table is not affected by vibrations or scratches and cracks on its glass surface. These characteristics allow the machine to be used on the shop oor by a variety of personnel with a wide range of skill levels.
Gasket Reverse Engineering
Reverse engineering of 2D sheet gaskets is incredibly quick and easy. It takes less than 30 seconds to measure and reverse engineer any 2D sheet gasket into a CAD file which can be used to cut a copy. If the old gasket is not available it is even possible to reverse engineer the part from a paper template taken from an engine or pump block.
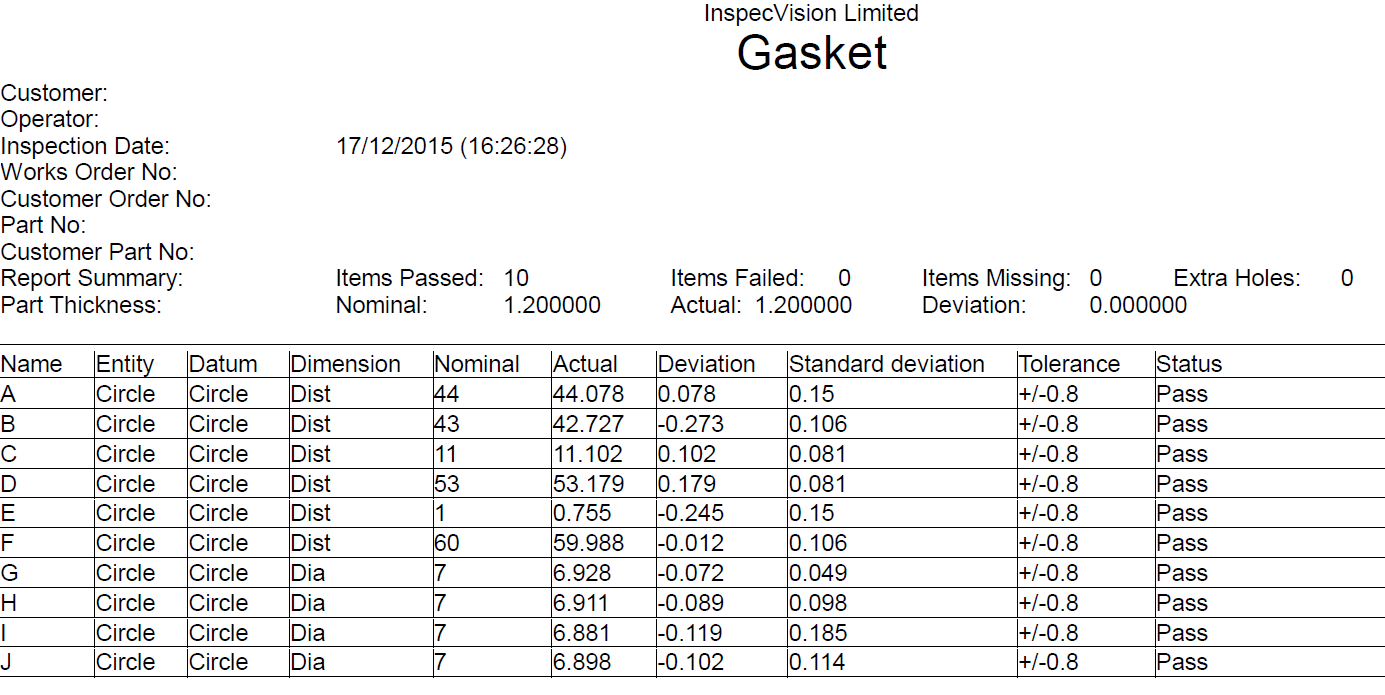
Planar2D Inspection Report
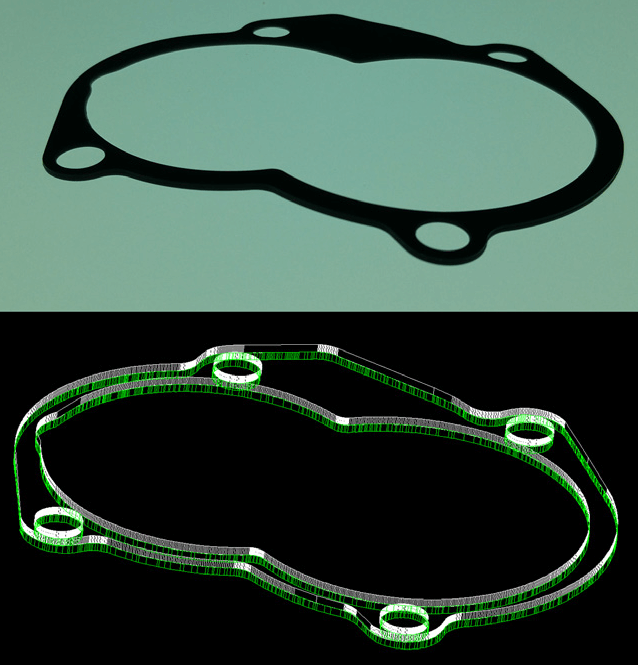
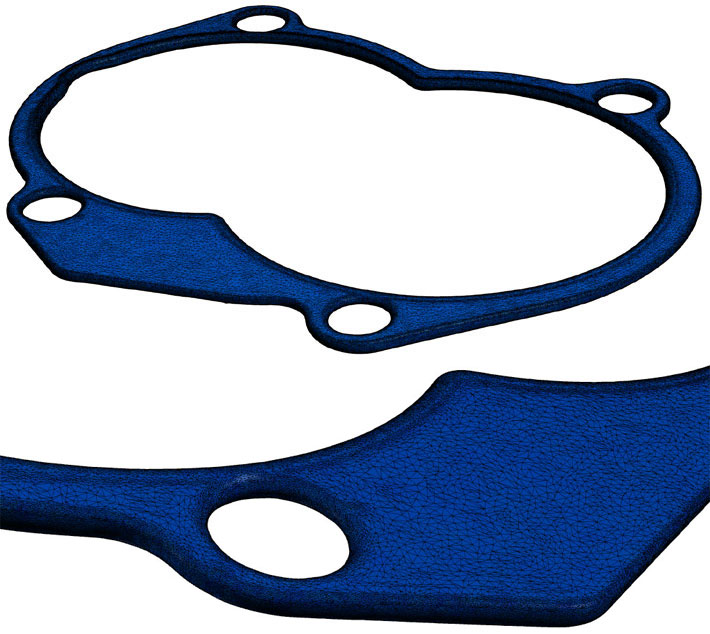
See figures 1, 2 and 3 for a sample Deviation Map, Inspection Report and Inspection Report Diagram for a Gasket.
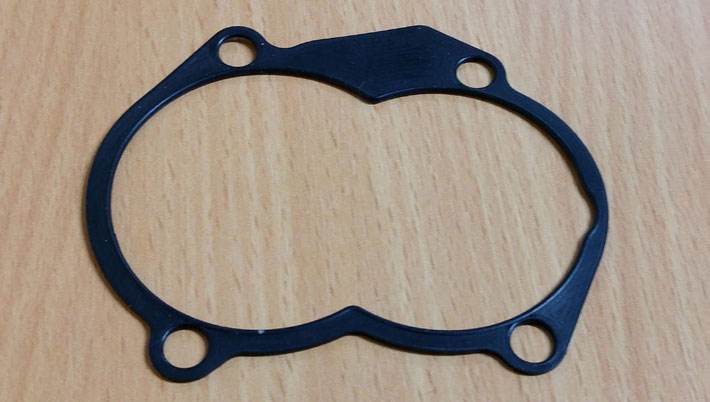
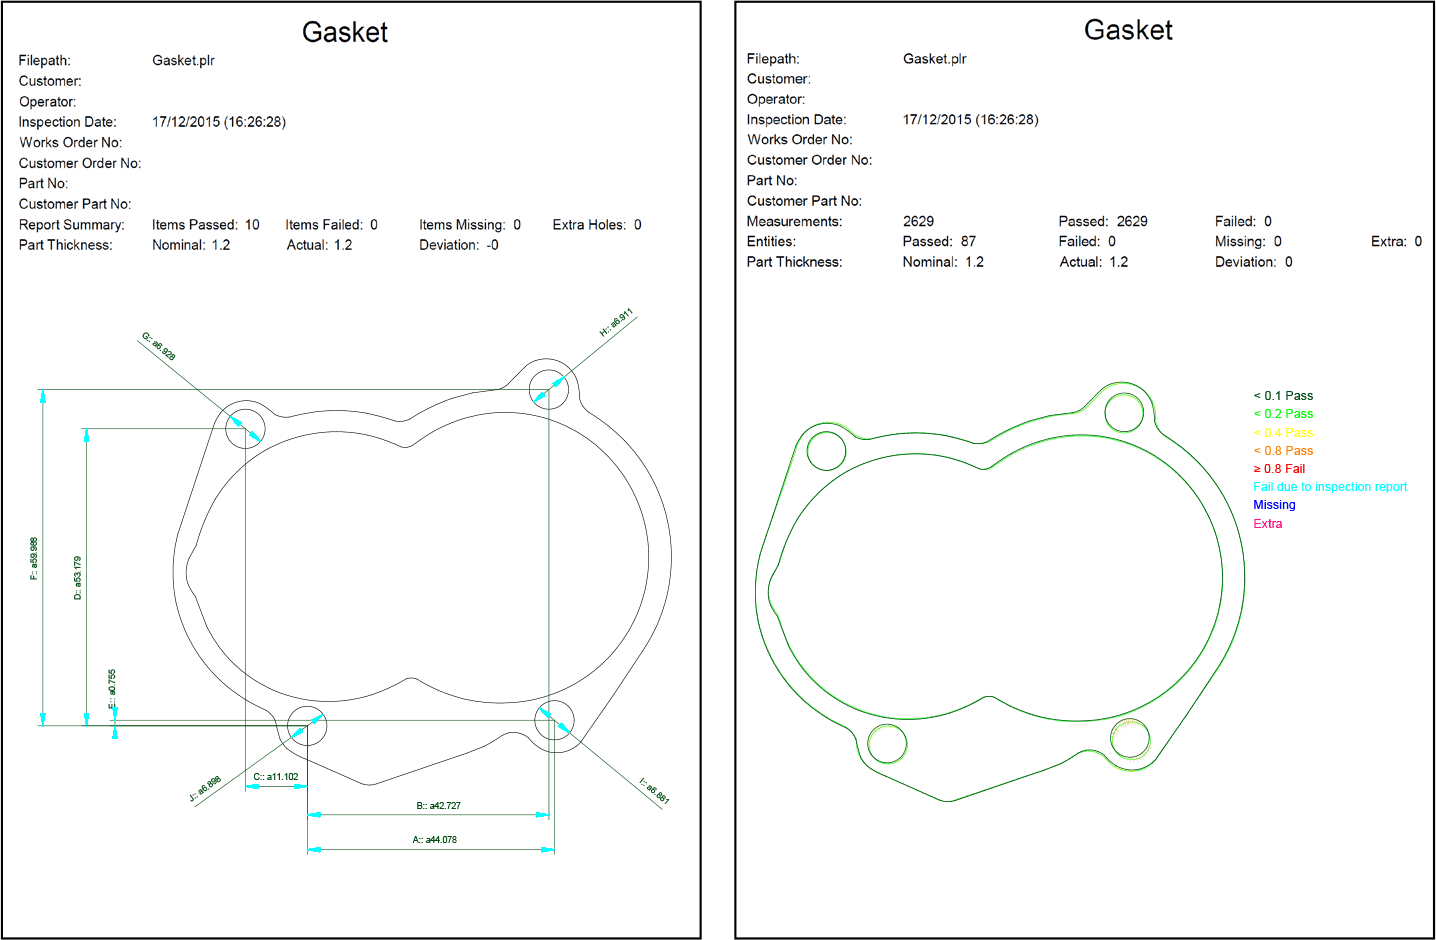
Figure 2: Gasket Inspection Diagram
Figure 3: Gasket Deviation Map
The Planar2D measurement system has a large range of sizes accuracies.
For more information on how InspecVision systems can help you please contact our team at sales@inspecvision.com.

