Case Study

Company Profile
Company: Louis Industries, Inc.
Size: €23M
Location: USA
Machine: Planar P150.50
Louis Industries, a steel processing facility based in Minnesota, began as a blacksmith shop in 1940. Founded by Alfred Louis, sons Leo and Cecil took over the business in 1973 and began to modify the company from blacksmith to OEM, producing wood burning stoves and animal equipment. In the 1990s, the company changed direction from OEM manufacturer to steel processing. Today, Louis Industries remains a family business providing services including laser cutting, turret punching, forming, welding and rolling and is a major regional supplier of steel and aluminium.
The company services a wide range of customers in sectors such as portable power, agriculture, construction, solar, outdoor recreation, packaging and heating who require processing of carbon steel, aluminium, stainless and galvanized sheets.
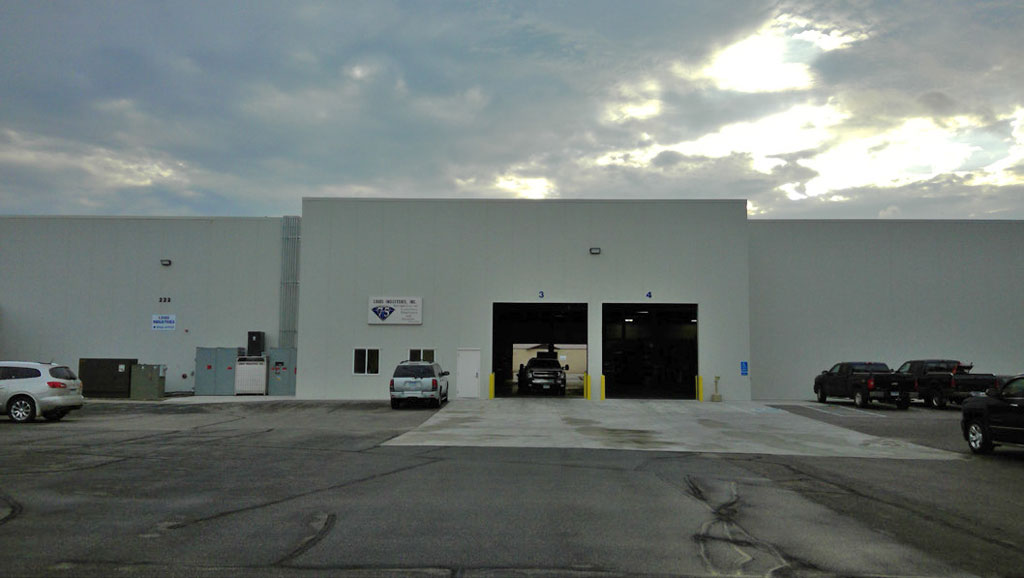
Figure 1: Louis Industries facility, Paynesville , Minnesota
William Klatt, Design Engineer at Louis Industries, explained that prior to purchasing the Planar, parts were being inspected using calipers, protractors and micrometres and the measurements were recorded manually. They were looking for a better, simpler way to inspect parts. A quick, easy, accurate method to verify parts were being processed to the customers standards.
“Before the machine, we had parts that could take more than an hour to inspect all the dimensions. Now it takes under a minute.”
— William Klatt, Design Engineer, Louis Industries
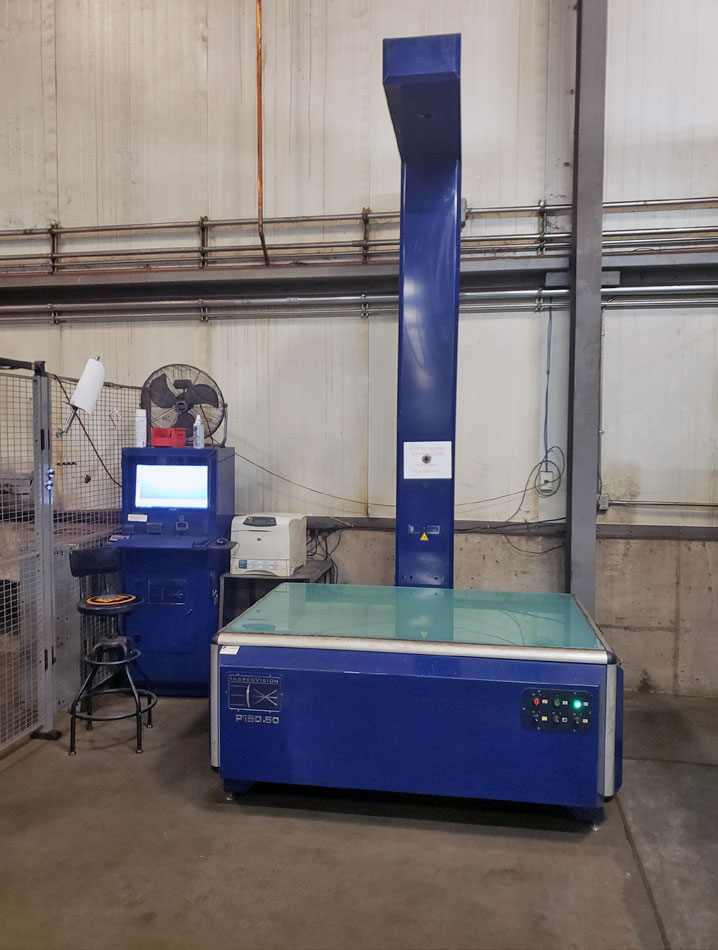
Installed in 2012, Planar is used 20-50 times a day in production. Mr. Klatt stated that “on most parts we save 5-10 minutes per part. For our First Article Inspections this can save 20- 60 minutes. Before the machine, we had parts that could take more than an hour to inspect all the dimensions. Now it takes under a minute.We also process all our inspections to take advantage of the machine as much as possible.”
Figure 2: Planar machine installed at Louis Industries.
Operators check the first part of each run to verify the parts are correct. For large volume parts, a part is checked again at the start of a shift and at a specified interval either specified by the customer or the Quality department at Louis Industries.
According to Mr. Klatt, the investment in the Planar wasn’t difficult to justify as the machine allows an operator to quickly verify a part and also shortens the downtime due to inspection.“ Payback on the machine was under 18 months.” Machine operators are the typical users with the machine also being used by the quality and engineering departments.
In fact, the Planar’s reverse engineering feature has even helped the company bring in more work.
In terms of support and maintenance, Mr. Klatt commented that having no moving parts “is one of the best features of the machine based on our environment”.
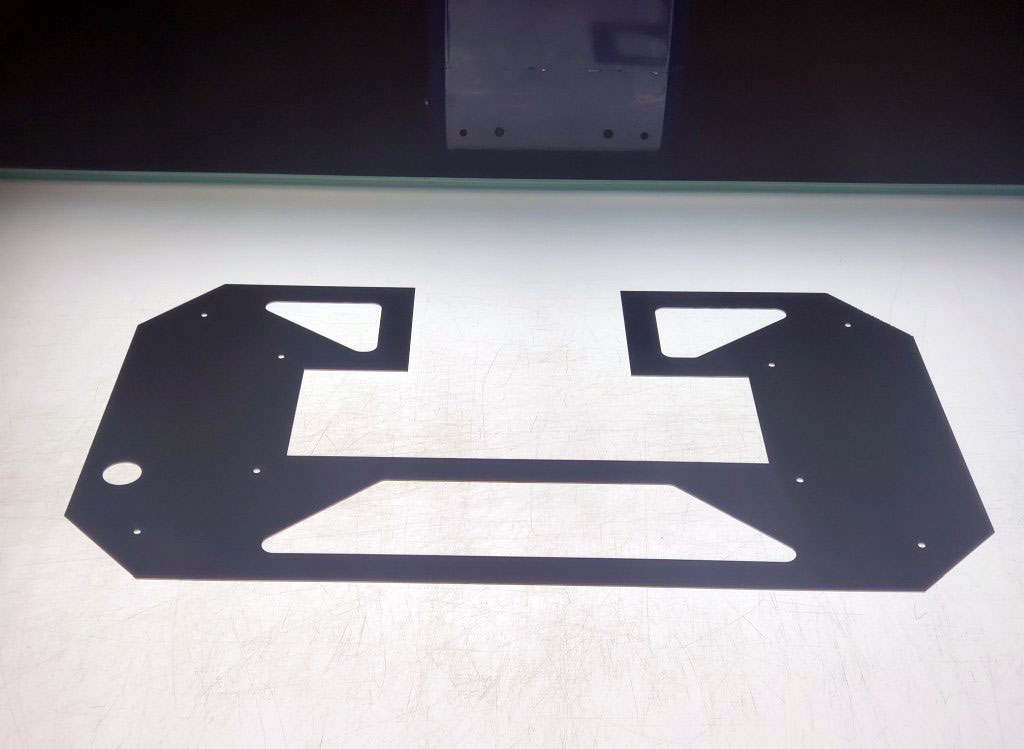
Figure 3: Large part being measured on the Planar P150.50.
The support received from InspecVision is “excellent” and “support is needed no more than once a year as Planar is a very self-sufficient machine”.
“Support is needed no more than once a year as Planar is a very self- sufficient machine”
—William Klatt, Design Engineer Louis Industries, Inc.
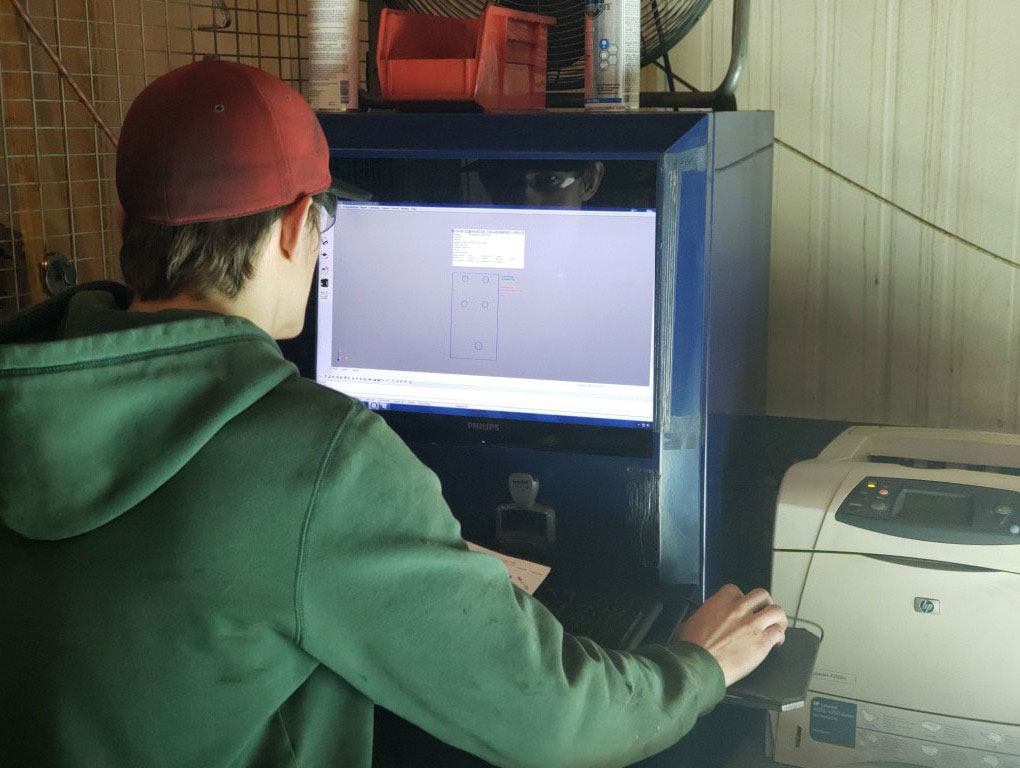
Figure 4: Machine operator generating an inspection report.
Louis Industries has implemented their own preventative maintenance because of the environment the machine is in and the high usage. The glass table is cleaned as needed and they check calibration weekly with the reference plate.
According to Mr. Klatt the main benefits of the machine are that non-conforming parts are caught in-house more frequently, it’s easy to train operators to use and the company is spending less time on inspection. In addition, record keeping of inspections is more organized and more frequent.
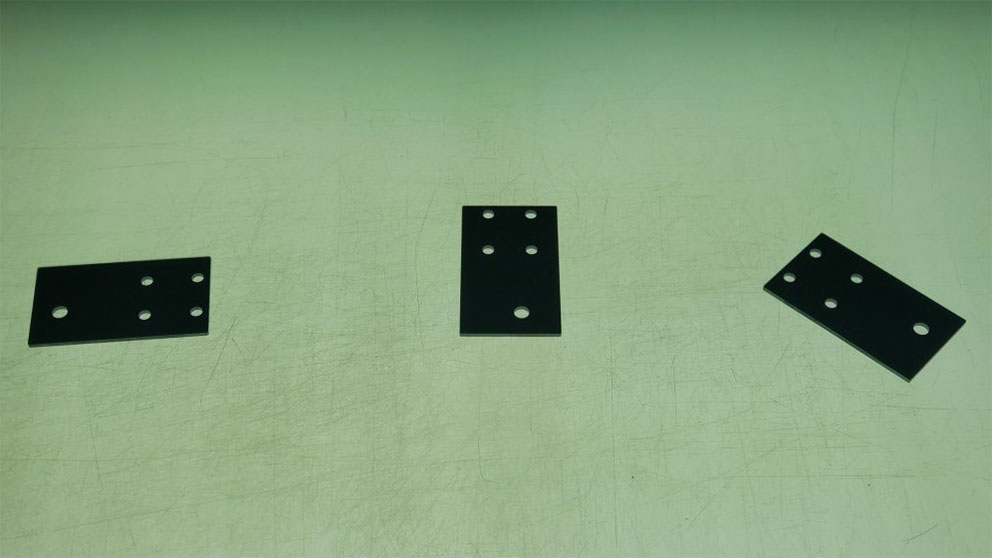
Figure 5: Planar measuring multiple parts simultaneously.
To find out more information about the Planar and how it can help your business; please download our online brochure and contact our sales team at sales@inspecvision.com.

