Case Study

Company Profile
Company: MARS Group
Size: €5M
Location: Serbia
Machine: Planar P70.20
Founded in 1990, MARS is a privately owned manufacturer of high precision, complex mechanical parts. With 170 qualified employees, their core business is CNC machining on mills, turning lathes, sheet metal processing and surface treatments of mechanical parts. The majority of parts are made from aluminum with some also made from steel, titanium and different types of plastics.
MARS is an ISO 9001:2015 and ISO 14001:2015 compliant company servicing customers from a variety of industries including telecommunications, medical, electronics, energy and automotive. Markets include Sweden, Norway, Germany, Switzerland, Netherlands and USA.
“The shortened inspection time and the accuracy of the measurement by InspecVision is obvious after the rst use.”
— Stanislav Radic, Quality Manager, MARS Group
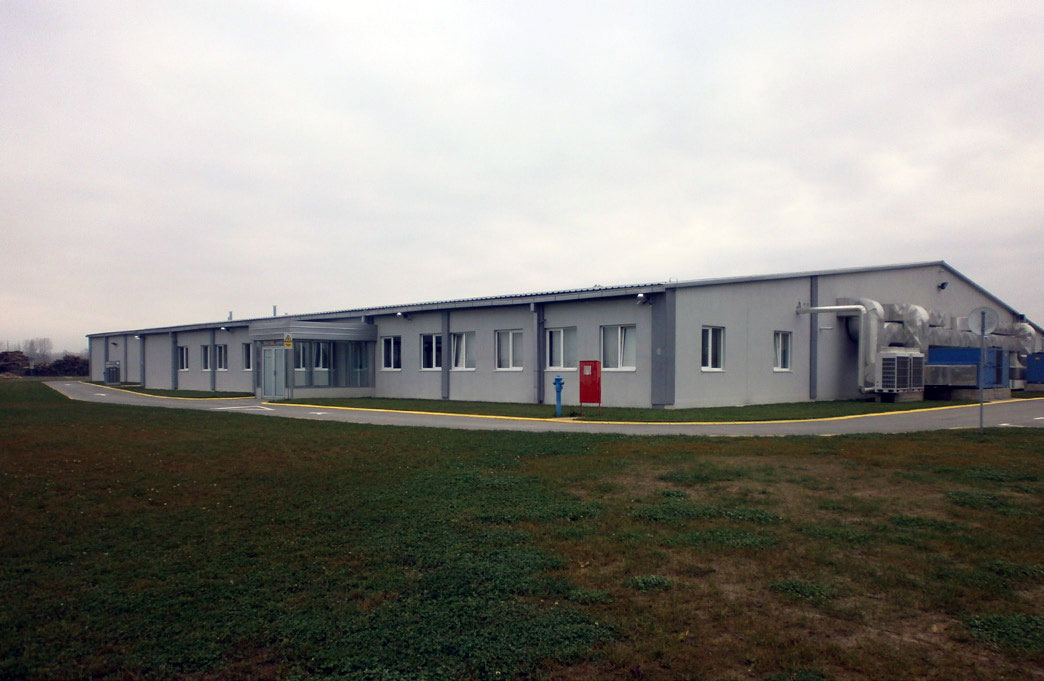
Figure 1: MARS Group factory, Serbia.
Stanislav Radic, Quality Manager at MARS, explained that parts were being inspected using contact measurement methods like calipers, height gauges and CMMs. For sheet metal parts, contact measuring methods were quite slow and their accuracy depended on a lot of factors.
KOPLAS,InspecVision’s distributor in Serbia, is an approved and valued supplier to MARS for other machinery and equipment. KOPLAS suggested the InspecVision Planar machine as a solution for their inspection problem.
Mr. Radic stated that it wasn’t difficult to justify the Planar machine as “the shortened inspection time and the accuracy of the measurement by InspecVision is obvious after the first use. Production time losses and gaps are significantly reduced due to shortened inspection time. The planned ROI was 1.5 years and it was fully realised.”
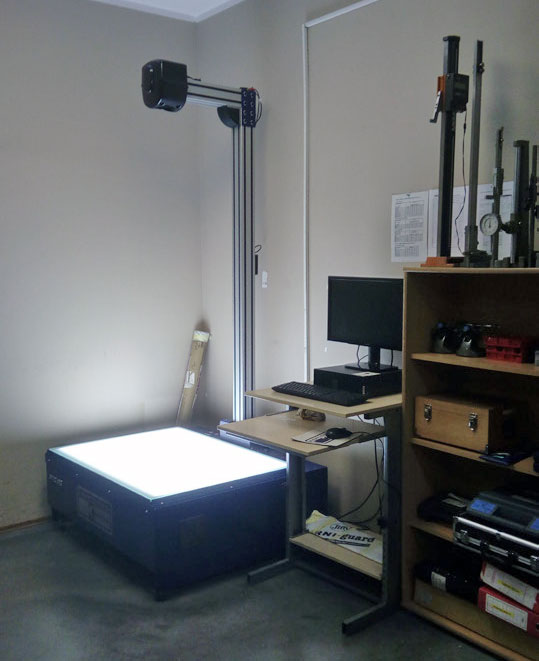
Figure 2: Planar machine installed at MARS, Serbia.
MARS uses the Planar approximately ten times a day for different types of inspection: verification of first piece, process control and final inspection. Mr. Radic said that the time they save compared to manual methods depends on the complexity of the part. It can vary from half and hour to two hours per part. Typically 100-300 parts are inspected on the machine per week.
MARS have found the Planar inspection system “extremely easy to use”. Any additional training for inspectors has only taken one day to complete. Mr. Radic explained that“ all of our quality control inspectors are trained to work with all measuring devices, but the proper use of Planar does not require any advanced knowledge of control methods other than the basics of computer usage.
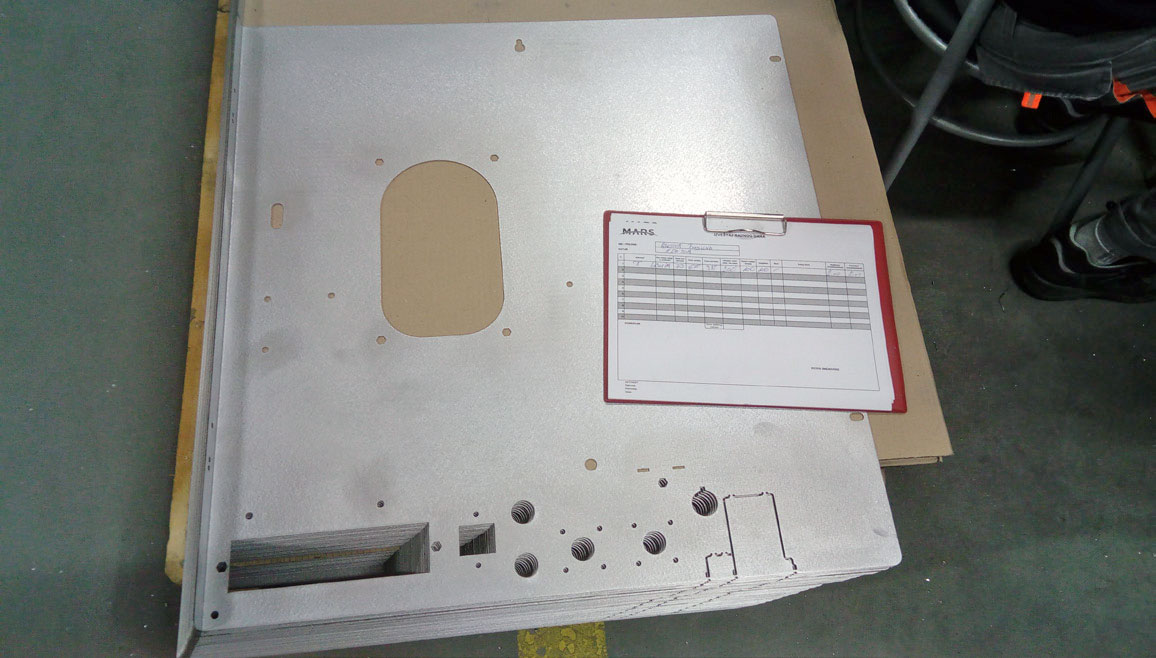
Figure 3: Sample part manufactured by MARS.
MARS has changed all their inspection processes since installing the Planar due to an increase of inspection frequency i.e. an increase of the sampling size. The sampling sizes are approximately 80% greater than when using standard contact measuring methods. This in turn led to increased inspection and production capacity, enabling more work to be assigned to the factory.
“The proper use of Planar does not require any advanced knowledge of control methods other than the basics of computer usage.”
— Stanislav Radic, Quality Manager, MARS Group
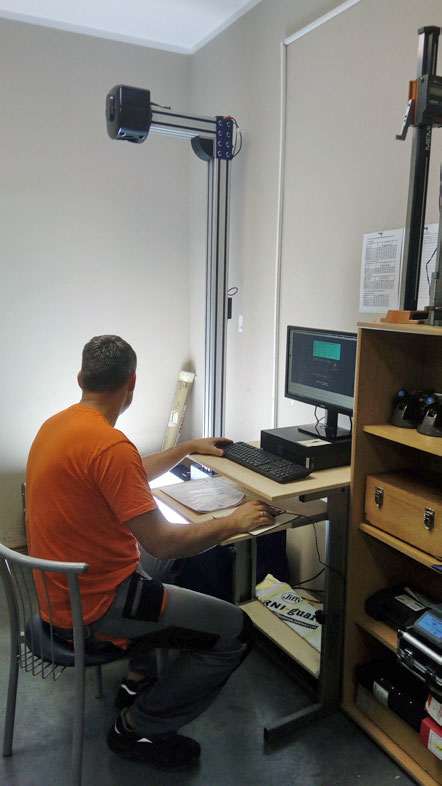
Figure 4: MARS quality inspector generating an inspection report.
Mr. Radic also commented on the level of support and maintenance required for the Planar. “For a period of two and a half years we have only needed support twice. Both times the support was implemented as soon as possible. No moving parts in the machine has meant there is no need for a minimum stock of spare parts. The only maintenance we have is a daily wiping of dust from the glass surface”.
According to Mr. Radic the main benefits MARS has experienced since installing the Planar are:
- Faster inspection time.
- Increased sample size/number of inspected parts.
- No need to use a lot of different measuring instruments to measure one part.
- Easy to operate so all their quality inspectors are trained to work with the Planar.
- Excellent support from the distributor in Serbia and from InspecVision for technical support on any software issues.
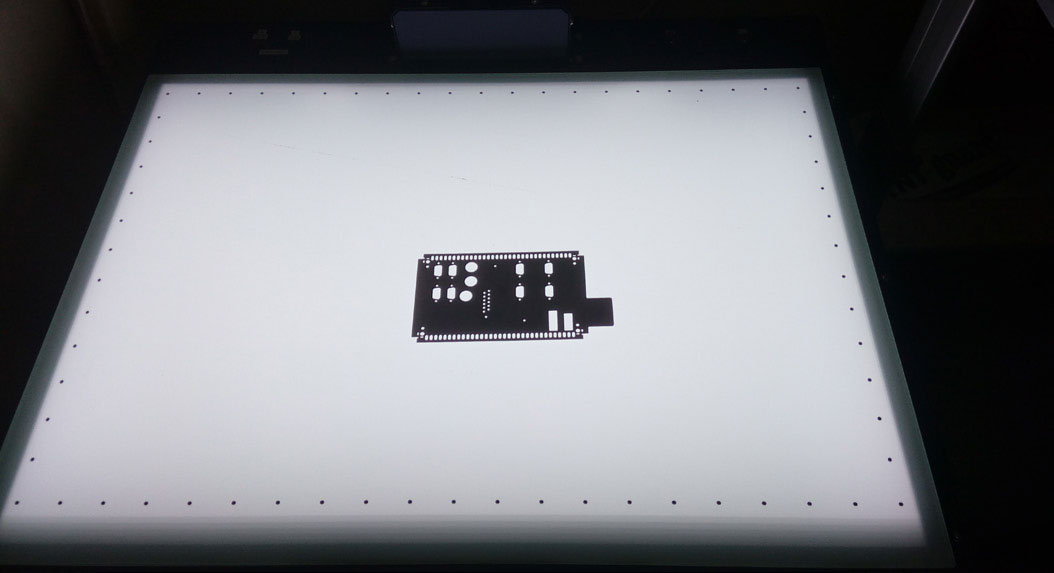
Figure 5: Planar measuring a part at MARS.
To find out more information about the Planar and how it can help your business; please download our online brochure and contact our sales team at sales@inspecvision.com.

