Case Study

Company Profile
Company: Marshall Aerospace
Size: €150M
Location: UK
Machine: Planar P65.50
Marshall Aerospace are one of the UK’s leading independent aerospace contractors. The Cambridge based company is a Boeing supplier and are involved in the design and manufacture of Boeing 777 systems, and Hercules aircraft.
Marshall Aerospace is one company that is leading the way in modern manufacturing methods, having done away with time-consuming and inaccurate process of inspecting at components visually using foil lofts. In it’s place the company are using the Planar 2D inspection system.
They required a more accurate way to check the 22 to 10 gauge (0.7 to 3.0 mm thick) components after they have been routed and drilled.This is being driven by increasing use in aircraft manufacture of predeterminate assemblies. They require components whose machined features are so precise that they t together perfectly, without having to use jigs on the factory oor and ream out pilot holes. Advantages include avoiding the expense and lead-time of producing jigs, faster assembly and less risk of damage, especially if the operator is working in a confined space.
Kevin Patterson, Manufacturing Support Manager at Marshall Aerospace has stated that in order “to support the manufacture of predeterminate assemblies, we need to be able to inspect to positional tolerances of five thousandths of an inch...this is not possible for an operator to do by the conventional method of checking a sheet metal component by eye against a foil loft, which is essentially a semi-transparent sheet of film with the profile of the component traced onto it.”
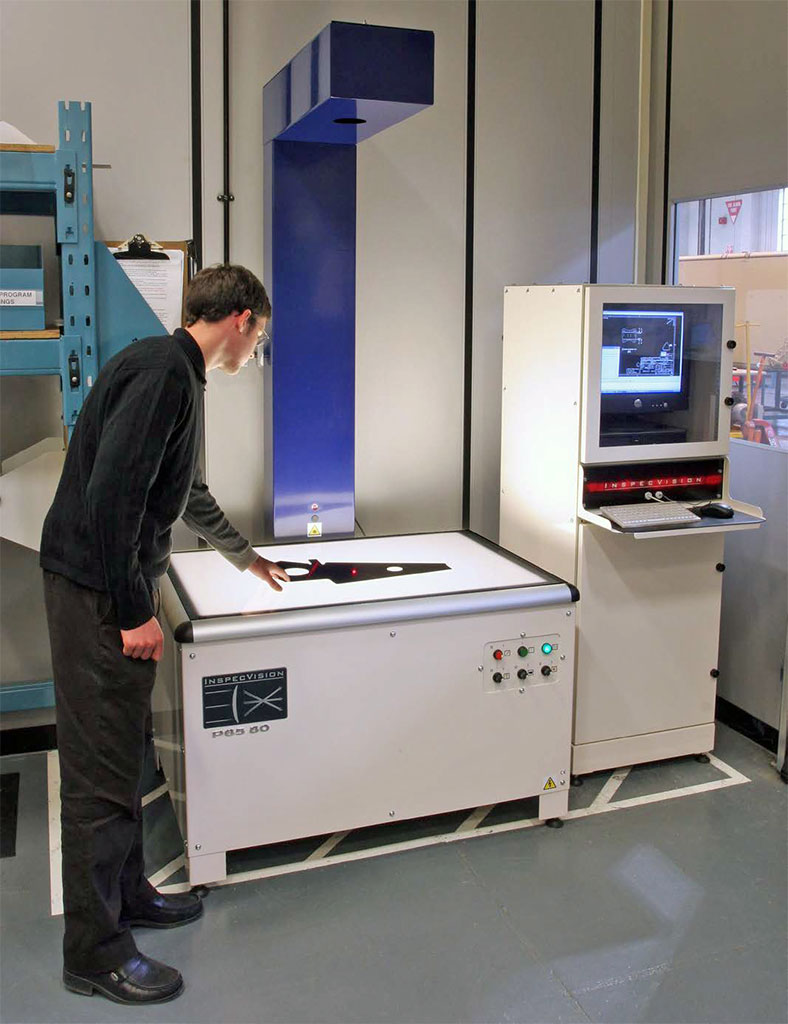
Figure 1: Marshall Aerospace using their P65.50 to measure aircraft components. The machine is pictured in their inspection department but will be moved to the shop floor.
Ever since copy routing of a component using a template produced from the loft profile had given way to CNC routing in the late 90’s, Mr Patterson had been looking for a way to modernise the inspection process as well. It was surprisingly difficult to find a solution. The existing coordinate measuring machines (CMM) at their Cambridge site had the precision, but it would have been difficult to fixture the sheet component off the surface of the granite to allow a touch probe to access the profile and holes. In any case, the inspection cycle would have been slow.
“We have virtually eliminated the need for drawings, resulting in savings throughout the production process.”
— Kevin Patterson, Manufacturing Support Manager, Marshall Aerospace
Complex go/no-go gauges were considered, but such a procedure would have been expensive and inflexible, especially with the large number of one-offs. A vision system seemed to be the best way forward, but a scanning solution on a CMM would have been too costly, and standard optical profile projectors on the market could not accommodate the large component sizes produced by Marshall Aerospace.
When searching for an alternative solution Kevin Patterson, Manufacturing Support Manager at Marshall Aerospace saw the ideal solution in Planar. The Planar machine could accommodate a majority of sheet metal parts produced by Marshall Aerospace, as not only is the light table large, but the control software is able to snap together two sets of results from an oversize component that has been repositioned and measured again.
According to Kevin Patterson he found the machine “relatively inexpensive, quick to use and is of simple, robust construction with no moving parts, allowing it to be used on the shop floor by the router operators”.
Ordinary glass and fluorescent lights are used in the machine construction, it costs only a few hundred Euros to get the system up and running again even if a component is dropped right through the table. As the Planar machine provides a dimensional check rather than a visual comparison, first-article inspection reports can be generated to ensure that the part produced matches the design intent, which is especially useful if there has been a change in the production process. Customers can be supplied with copies of the report for their own quality audit purposes.
Mr Patterson was delighted that “it takes just a fraction of a second for the overhead digital camera to take a picture of the part and a few minutes for the Planar software to compare the measured data against the Catia CAD model from which the CNC routing cycle was derived...we have virtually eliminated the need for drawings, resulting in savings throughout the production process.”
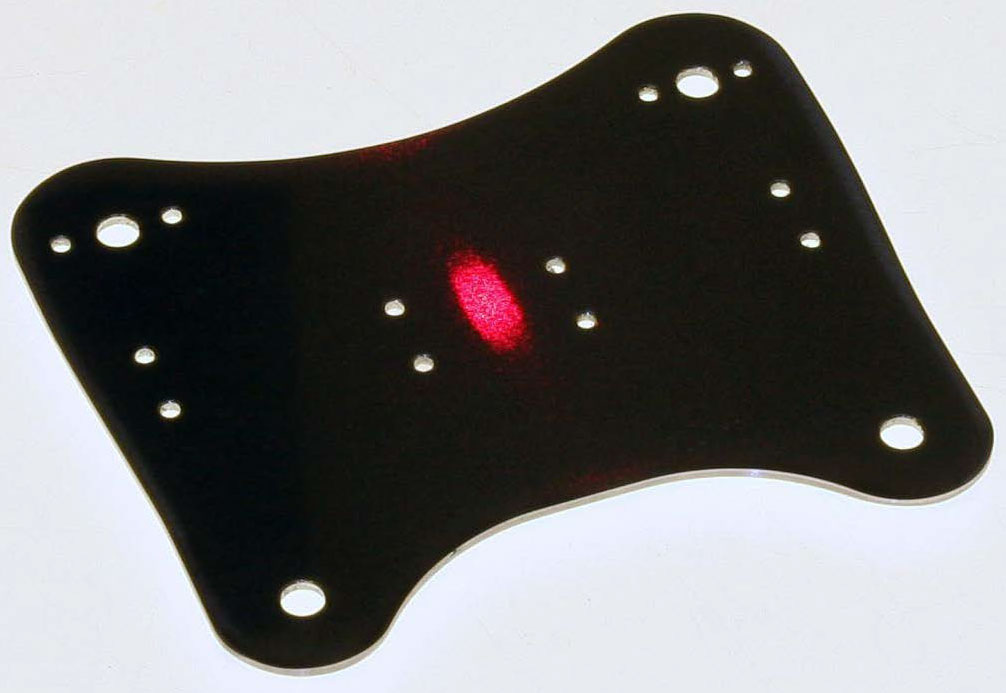
Figure 2: As the Planar camera is calibrated to the face of the table, a laser beam detects the thickness of the component, such as this rib system bracket for an Airbus A400M wing, and corrects for triangulation error. Alternatively, the thickness of the part can be entered manually.
The firrst job on the measuring machine was the cover that forms the vertical, leak-proof corners of a fuel tank. It was used to test the effectiveness of the system before the Planar equipment was purchased. Other parts have quickly followed, such as cockpit console components, wing rib brackets and leading-edge panels, and more are being put on all the time.
An additional benefit of the Planar machine is its ability to reverse-engineer replacement legacy parts when no CAD data is available, the original foil lofts are no longer available, and perhaps only undimensioned drawings exist.

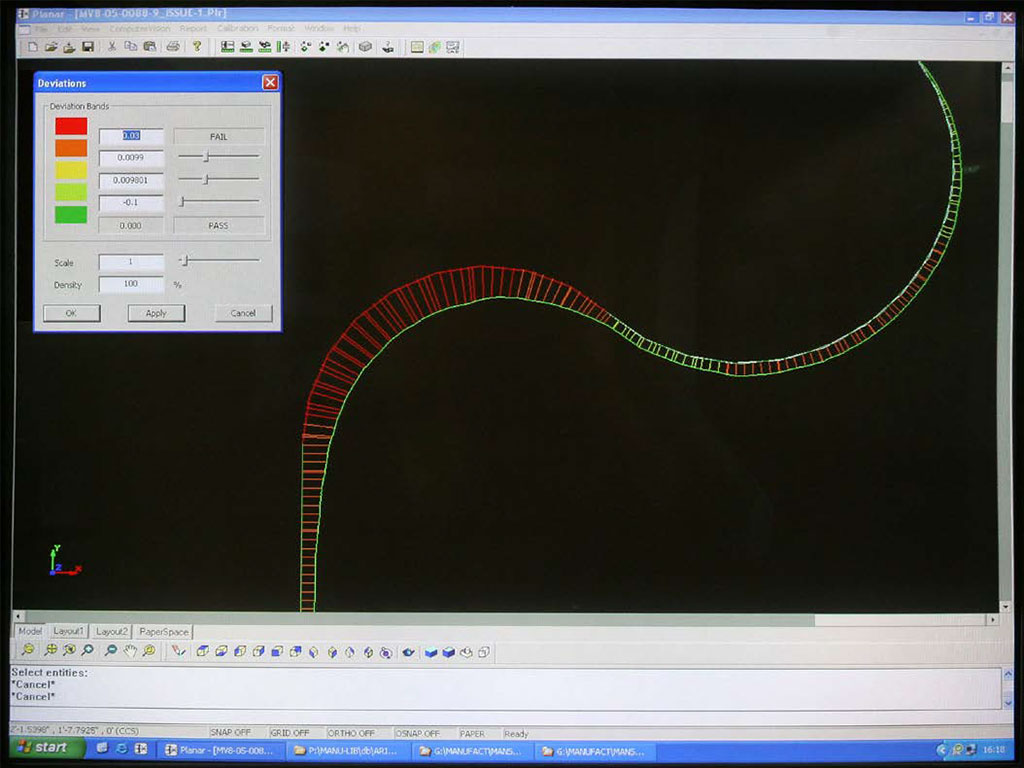
Figure 3: Profile of a sheet metal aluminium component captured by their Planar machine at Marshall Aerospace. The component (white) is being inspected against the Catia CAD model (green) that was used to route the part. ‘Out of tolerance’ areas are shown in red.
The machine is able to digitise a drawing in seconds by converting it automatically into a DXF file, enabling the part to be remanufactured on a CNC router. The system even includes optical character recognition and neural networks to extract any text and dimensions if they appear on the drawing.To create an accurate DXF manually can take hours, or even days. If a drawing is not available, the legacy component itself can be flattened and measured.
To find out more information about the Planar system how they can help your business; please download our online brochure and contact our sales team at sales@inspecvision.com.


