Case Study

Company Profile
Company: Scherer Group
Size: €240M
Location: Germany
Machine: Opti-Scan OS350.10
The Scherer Group was established in 1981, and is the merging of medium sized companies into a well known manufacturing group making plastic and aluminum products. Auto Heinen is a company within the Scherer Group.
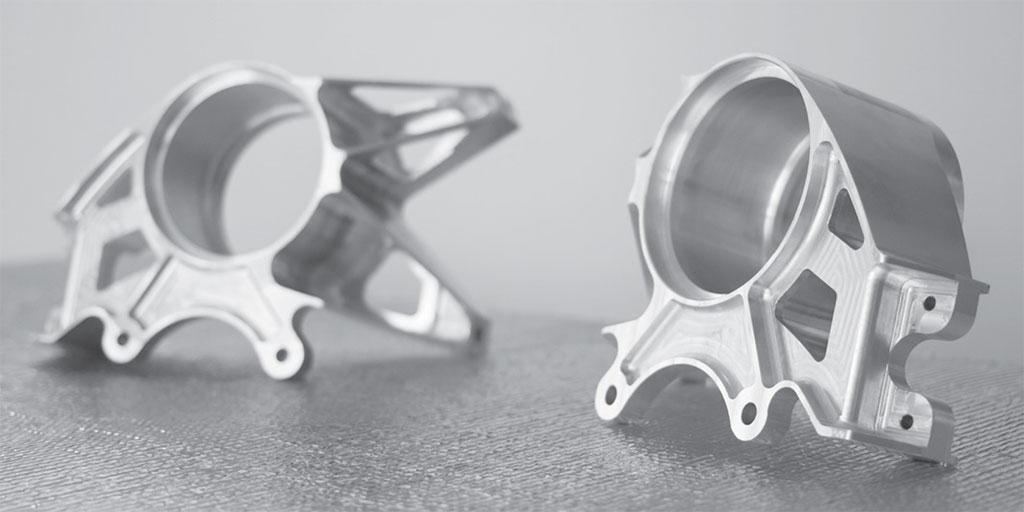
Auto Heinen was acquired by the Scherer Group, but were originally founded in 1933. They manufacture and nish aluminium die-cast parts for leading Automotive companies such as Aston Martin, Ford, Jaguar Land Rover, Continental and Schaef er Gruppe.
Their company’s dedication to quality management meant that they wanted to nd a fast and accurate method of checking their components.
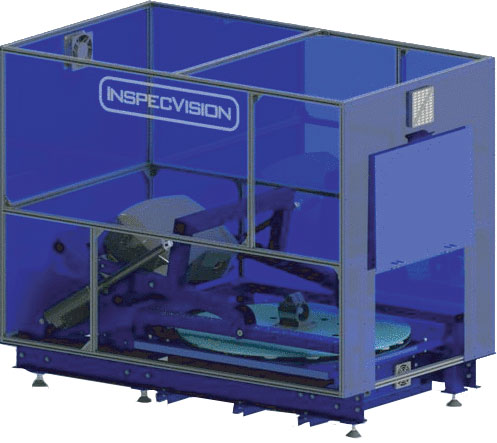
Auto Heinen purchased our Opti-Scan, model OS350.10. The Opti-Scan is the world’s first 3D scanner that can measure surfaces and edges in 3D (see figure 1).
The system uses a high speed, high resolution industrial camera and an LED DLP projector to scan the surfaces of an object. Patterns of light are beamed from the projector onto the part, these patterns are distorted by the part and this is recorded by the camera and used to create surface measurements.
“The Opti-Scan has a good price to performance ratio and it is very fast to check the dimensional quality of a component.”
— Thomas Duell, Measurement Engineer Auto Heinen (Scherer Group)
Thomas Duell, a Measurement Engineer from Auto Heinen states that they “check Aluminium die casting components...in particular, sample parts and prototypes”.
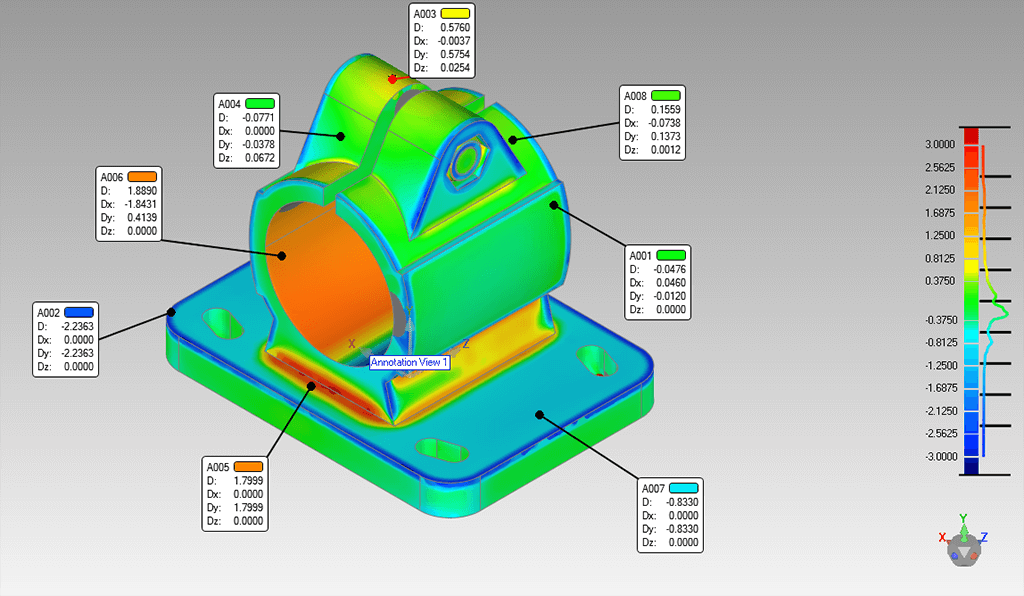
Thomas went on to explain that “the Opti-Scan has a good price to performance ratio and it is very fast to check the dimensional quality of a component. Using the 3D deviation map you can easily and quickly see where you have too much or too little material, and how you can correct the errors.”
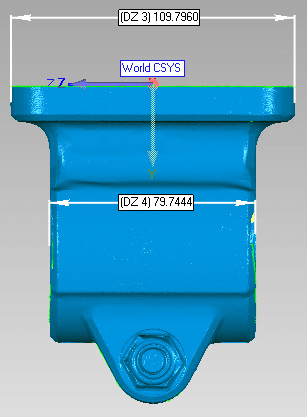
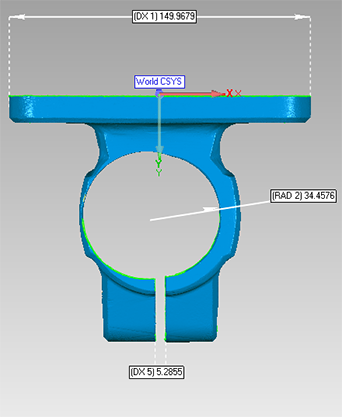
A sample deviation map of a cast part can be found in gure 2, and sample casting inspection reports can be found in figures 3 and 4.
Thomas explains that previously they were “just checking by hand or using a CMM and were measuring from three to fifty components per week”, and required a better measurement solution. Auto Heinen now nd that because of their Opti-Scan they “are now able to check a higher number of components.”
They were impressed with both the 3D system and aftersales support by our team.After a visit by a member of InspecVision Deutschland’s team and using created macros “the system is extremely easy to use!”
To find out more information about the Opti-Scan and how it can help your business; please download our online brochure and contact our sales team at sales@inspecvision.com.

