Case Study

Company Profile
Company: Zumtobel Lighting GmbH
Size: €1,228M
Location: Austria
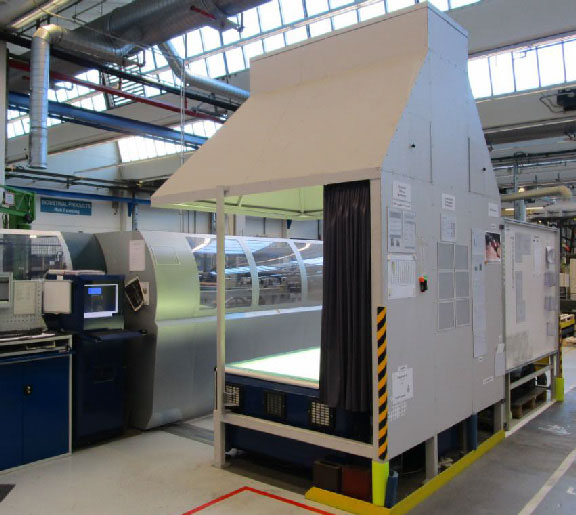
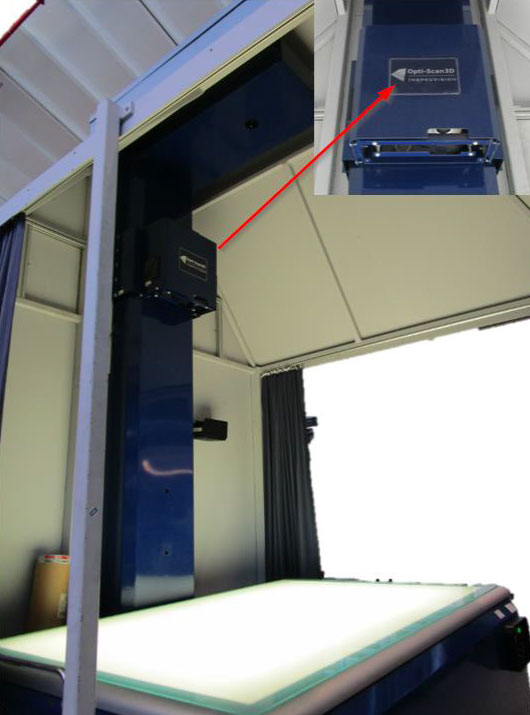
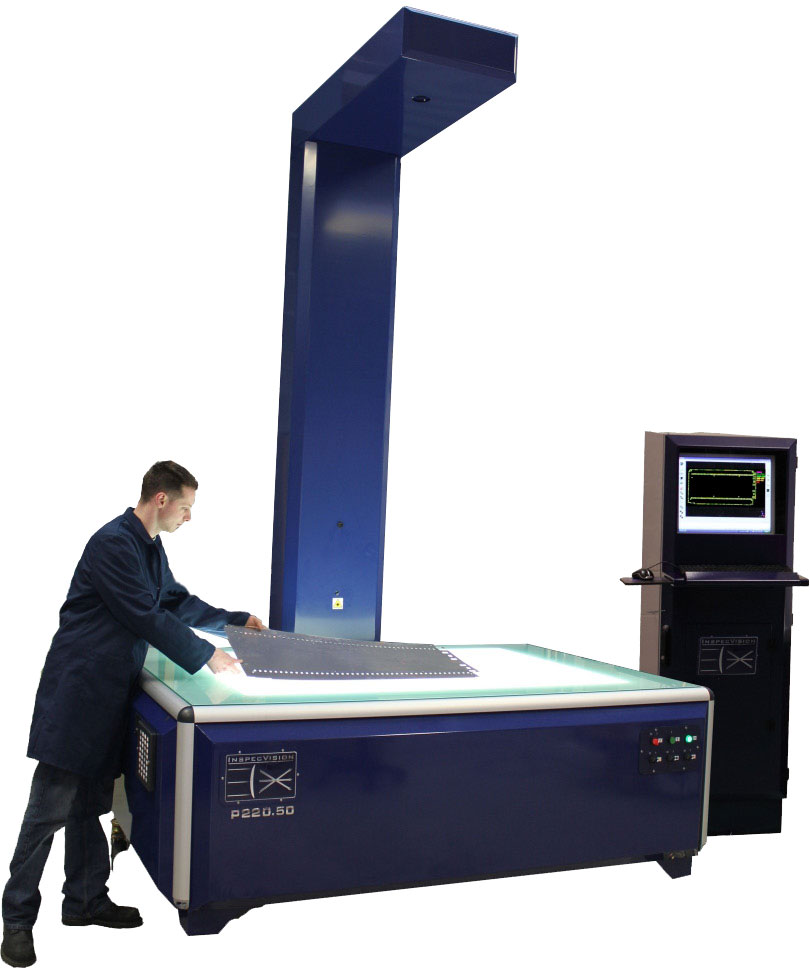
Machine: Planar P220.50 with Opti-Scan option
Zumtobel are an internationally leading manufacturer of indoor and outdoor lighting solutions.The company was established more than 60 years ago in Dornbirn, Austria and they now ship their products into over 70 countries.
Zumtobel products ‘meet the highest quality standards and boast an extremely long service life’. In order for Zumtobel to ensure their products meet their strict quality standards they have introduced a quality management system.This process led to the purchase of an InspecVision Planar 2D measurement system with an Opti-Scan 3D option.
Daniel Kannegießer, a Mechanical Engineer from Zumtobel told InspecVision we ‘were measuring by hand before and this was really time consuming, it was also too inaccurate, slow and not traceable’. These problems now have been addressed with the purchase of their Planar scanner.
“We trained the workers internally and we can say that the 2D measuring machine and software is easy to use.”
— Daniel Kannegießer, Mechanical Engineer, Zumtobel Lighting GmbH
This purchase has had a positive impact within the company as Daniel explained to us. He discussed how the Planar system made inspection ‘a lot simpler and quicker than before’, stating ‘we save 10-15 minutes per component and our results are now traceable’.
With the Planar machine you can export reports, including the date, name and results of each individual part. The inspection report enables you to record the results of each inspection easily, saving valuable time per part inspected.
Daniel also highlighted how simple the system was to use and the number of parts inspected has greatly increased now they use their new inspection system. He said that ‘machine operators and metal sheet workers typically use the machine...we trained the workers internally and we can say that the 2D measuring machine and software is easy to use’.
“The percentage of parts measured has increased. Even freeform geometries that could not have been measured before are now measured.”
— Daniel Kannegießer, Mechanical Engineer, Zumtobel Lighting GmbH
Regarding parts measured ‘the percentage of parts measured has increased. Even freeform geometries that could not have been measured before are now measured. We now measure 100 different parts.’
To find out more information about the Planar system or the 3D options and how they can help your business; please download our online brochure and contact our sales team at sales@inspecvision.com.


